Today’s tutorial is brought to you by Julie of Mack and Mabel fame! We adore this baby quilt, it’s had so much attention in our Huddersfield shop since it arrived with us last week! Look out for a special offer at the end of the post!
Triangle Baby Quilt
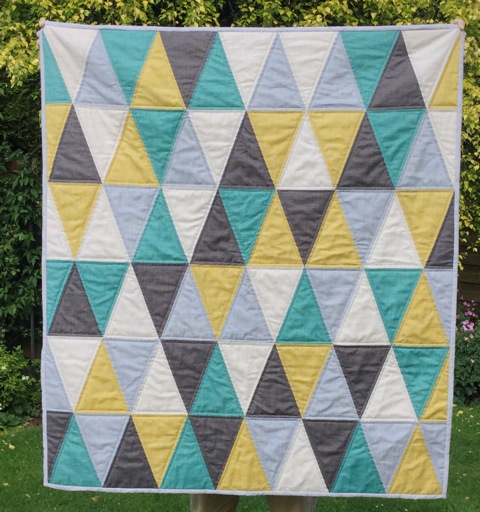
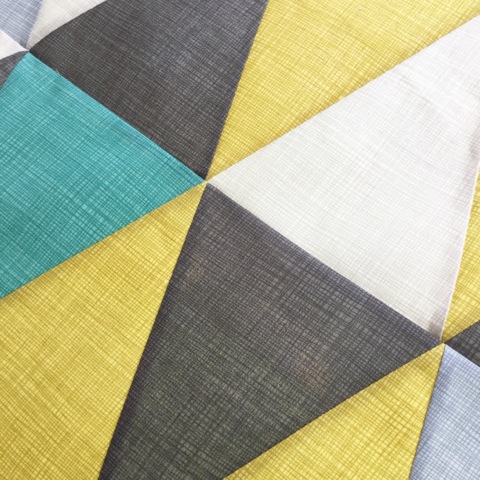
When Justine asked me for another blog project, I knew exactly what I wanted to make. I love the modern look of triangle quilts and the new Linea Tonal fabrics by Makower UK were perfect for this.
I have made a triangle quilt in the past, and I have to be honest, my points weren’t all that I’d hoped they’d be! This time round I used a few tricks that meant everything went together quickly and easily. This is a quilt that you can make in a weekend!
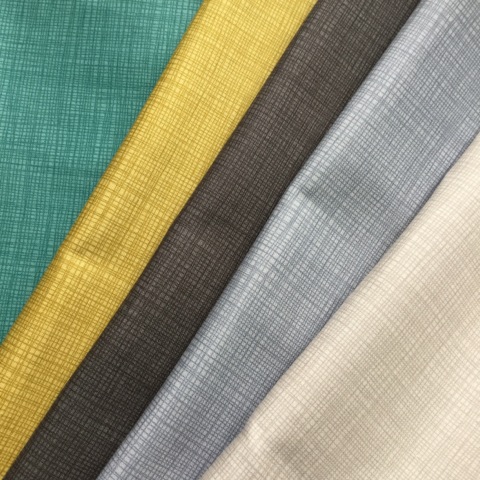
I chose 5 Linea colours: Teal, Yellow, Charcoal, Grey and Cream
To make this quilt you will need to download the PDF with the full size templates here: https://dl.dropboxusercontent.com/u/94402060/Free%20Blog%20Patterns/Triangle%20Baby%20Quilt%20PDF.pdf
It gives you all the fabric requirements and cutting instructions as well as a layout diagram.
I lightly spritzed my fabrics with starch to reduce any stretch on the bias edges – Best Press is ideal for this.
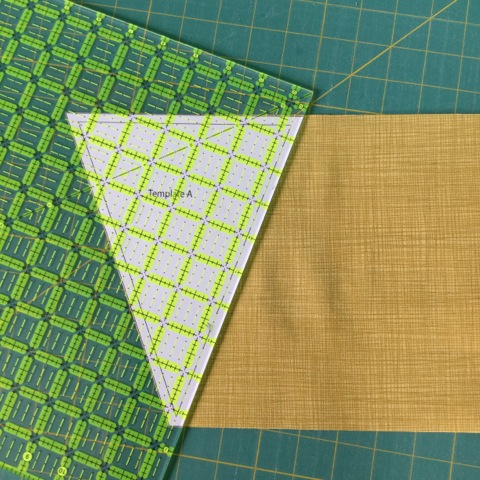
Print off the templates and use them to cut out your fabric triangles. Always place your quilting ruler over the template and use it as a straight edge for rotary cutting. Be careful not to shave any of the seam allowance off the template.
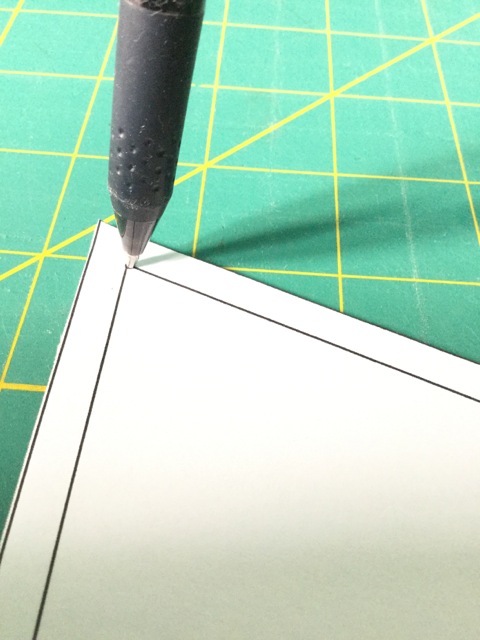
The next step might seem a bit of a pain, but I think it really made a difference to how my points turned out.
With a needle, I made a hole on the paper templates at the 3 seam intersections. The hole needs to be large enough to get a fabric marking pen through. I used a Frixion Pen. I then marked the 3 intersection points on the back of each triangle. It took me about 20 minutes to mark them all, and I consider it time well spent as I didn’t have to resort to my seam ripper later on!
Then you simply pin two triangles together lining up the dots.
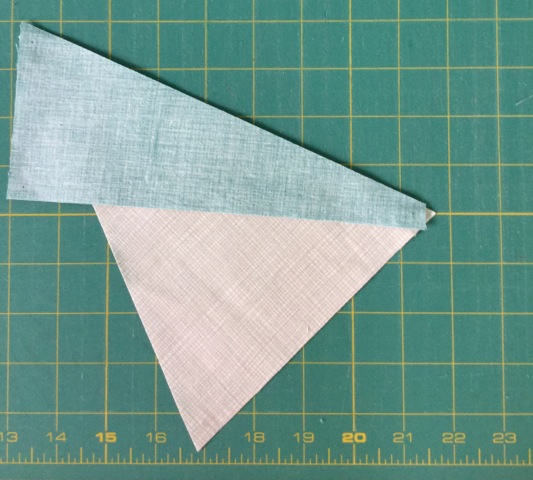
Use the layout diagram included in the pattern if you want to follow my design exactly.
I think the technique worked!
I did not press my seams with an iron until I had finished the whole quilt top. I just finger pressed, again to avoid distortion. You need to press the seams on the first row to the right, on the second row to the left, third to the right, and so on so that when you join the rows they lie nice and flat.
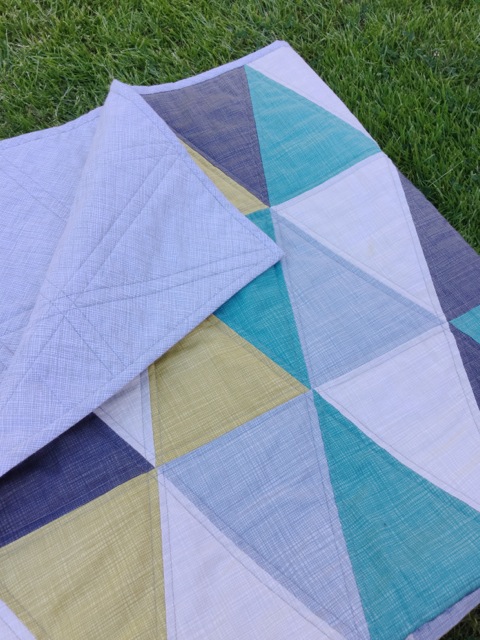
When thinking about quilting this, I decided that the beauty of the quilt was in its simplicity and that should I should simply follow the lines of the triangles. I was very tempted to add more lines or just to straight line quilt it, but I’m pleased with how it turned out.
I used Architextures extra wide fabric for the backing and had plenty left over, so I used the remaining piece for the binding. I’ve never been able to that before. I love the effect!
You really could make this quilt in a weekend from start to finish!
If you make one, I hope you enjoy it as much as I did!!
If you’d like to make a quilt from Linea like Julie did use code Triangles for a 15% discount on all Linea fabrics! Code is good through til July 20th 2015.
Don’t forget our #simplysolidsmakes hashtag either! Simply use the hashtag on IG and Facebook when posting photo’s of your Simply Solids purchases and makes using fabrics from us and you’ll be entered into a monthly draw for a £25 voucher for the shop!