The lovely Lisa and Justine have asked me back again to share a cute nautical themed collection of prints called Message In A Bottle by Suzy Ultman for Robert Kaufman.
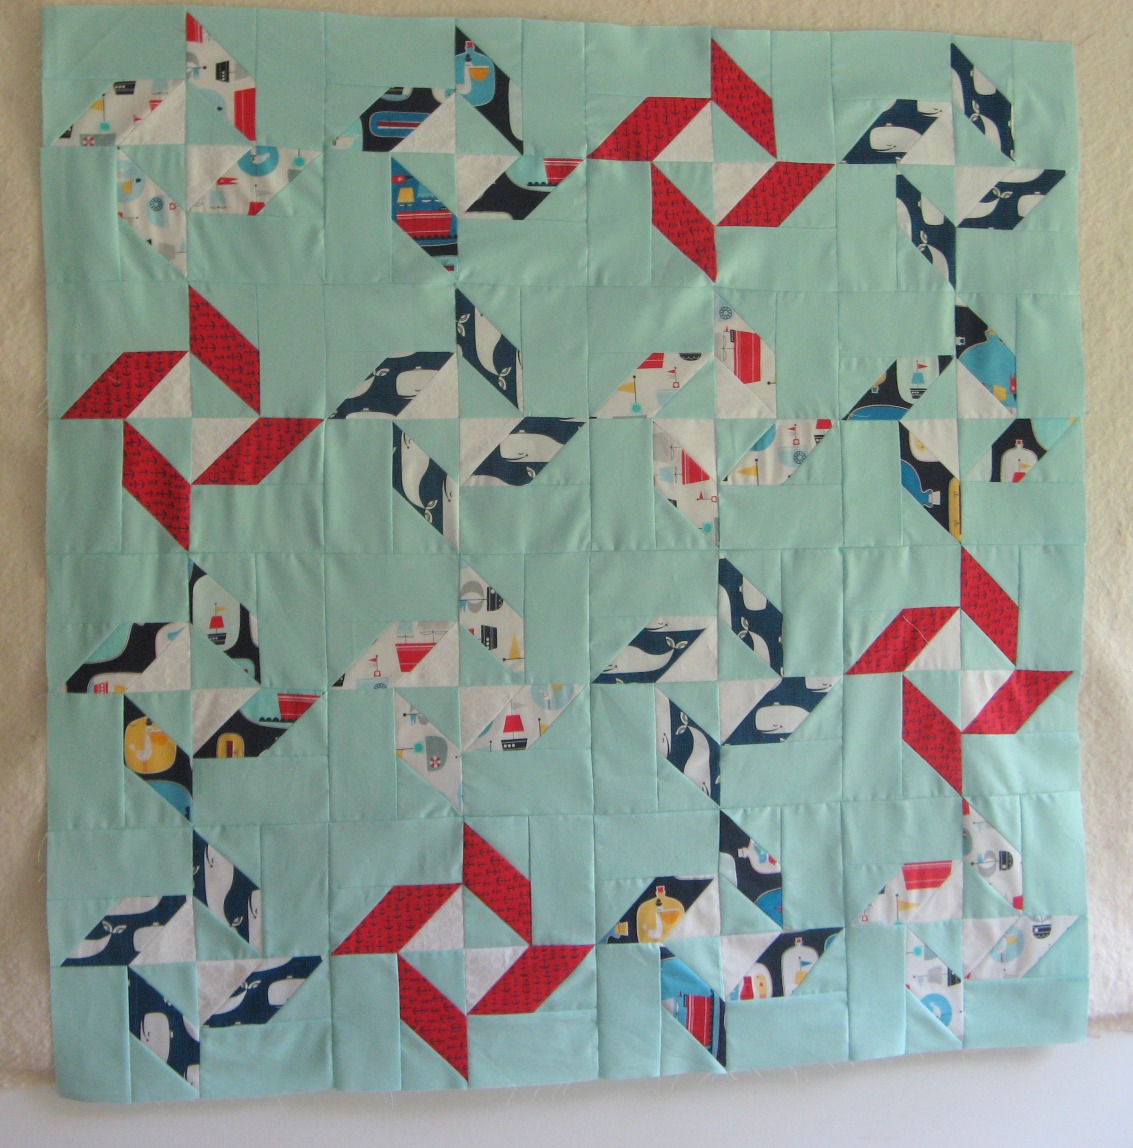
We thought they would make a lovely baby quilt and so here is the EQ version of the 40″ square quilt.
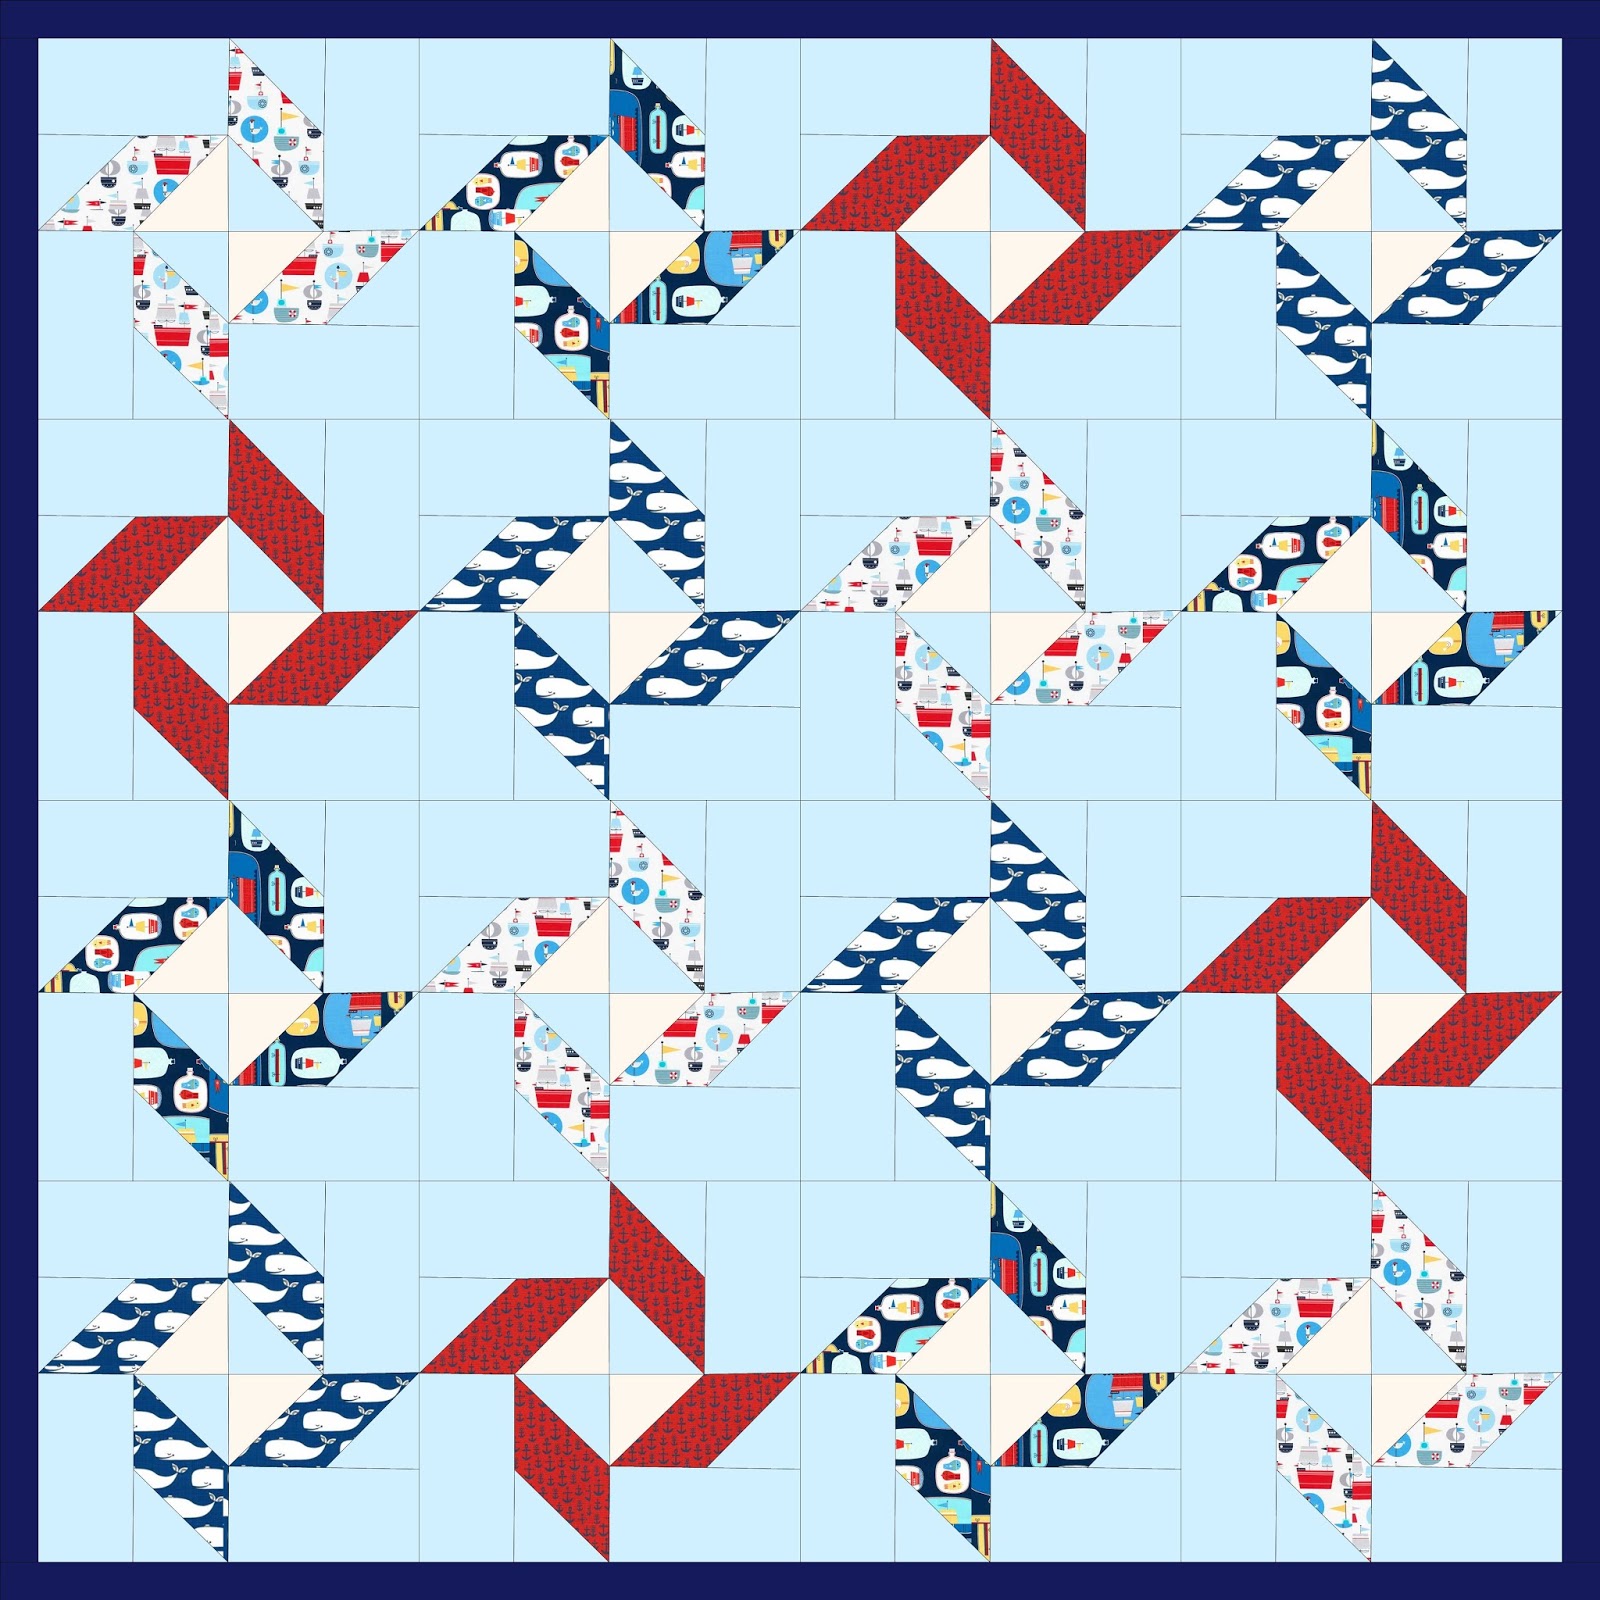
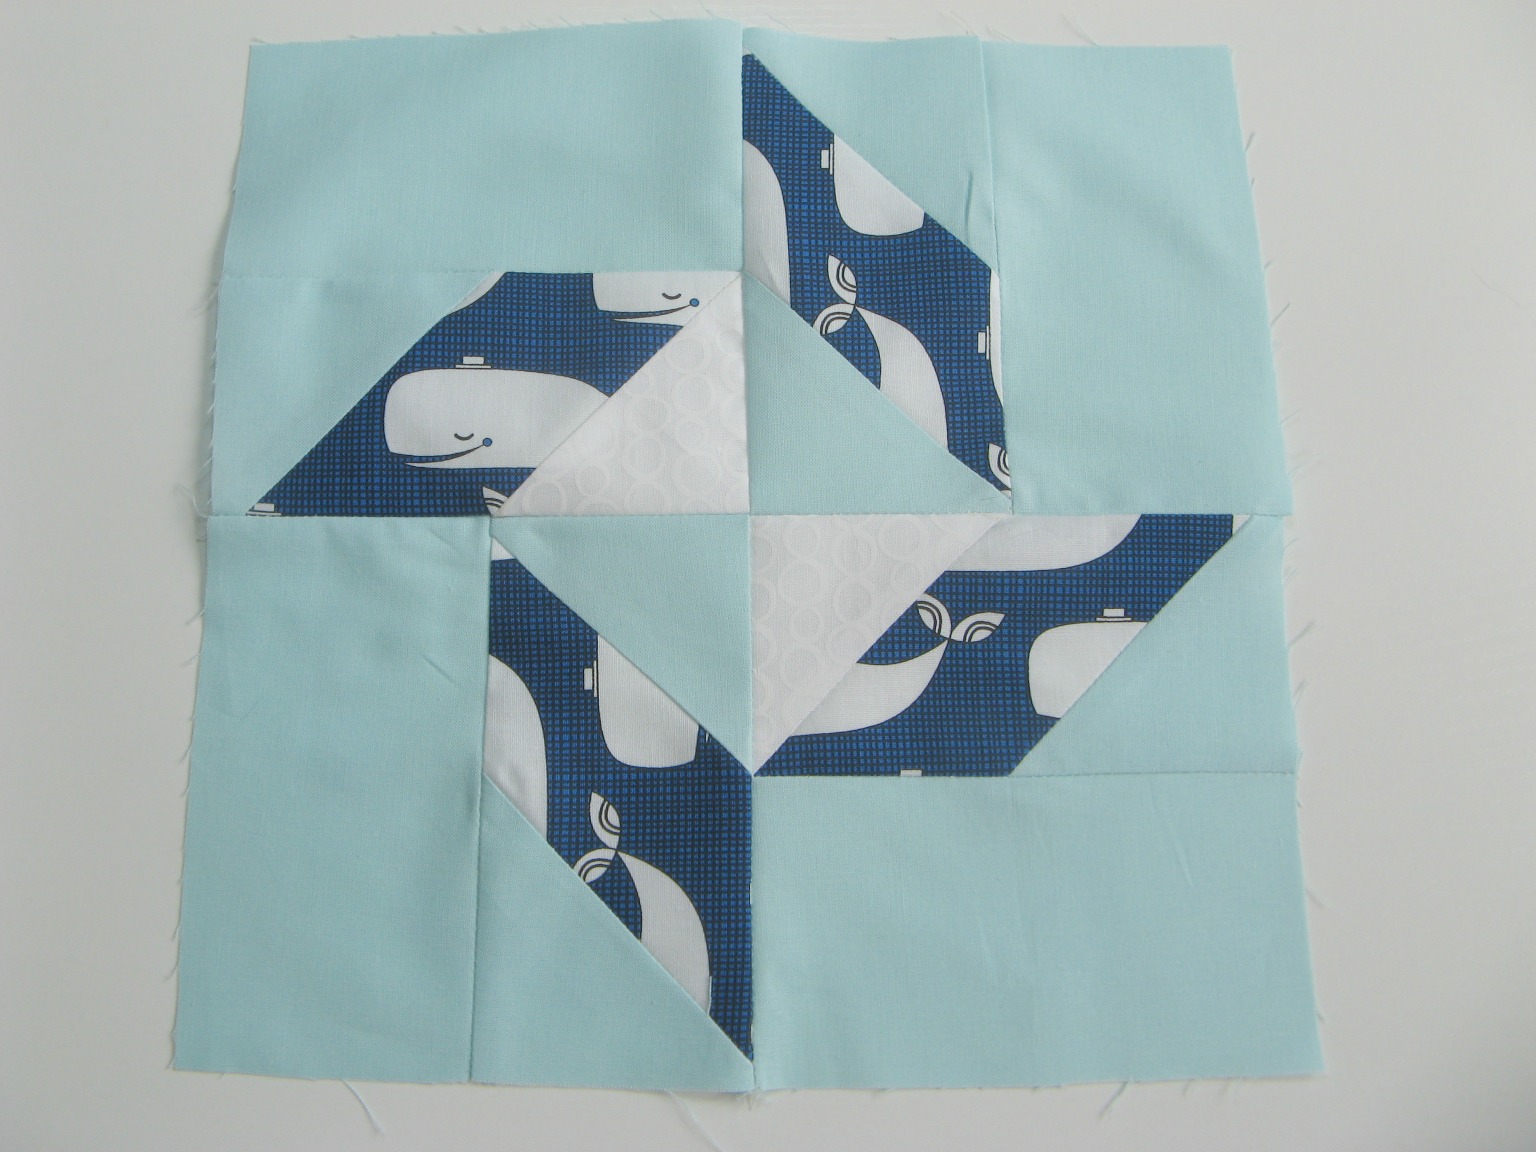
This traditional Flywheel block makes me think of the wheel used to steer a ship or the propeller driving it through the sea, but it could also work for aeroplanes, if baby is destined to be a flyer!
It might look tricky but is made from rectangles and squares using a stitch and flip method, making it very easy indeed.
The fabrics are again directional prints! This time though I will be spinning those prints round the block. This is a great way to add a bit of movement to your quilt and also means that it works any way up. It is also easier to make because all the strips will be cut, and all the blocks units will be pieced, in the same way.
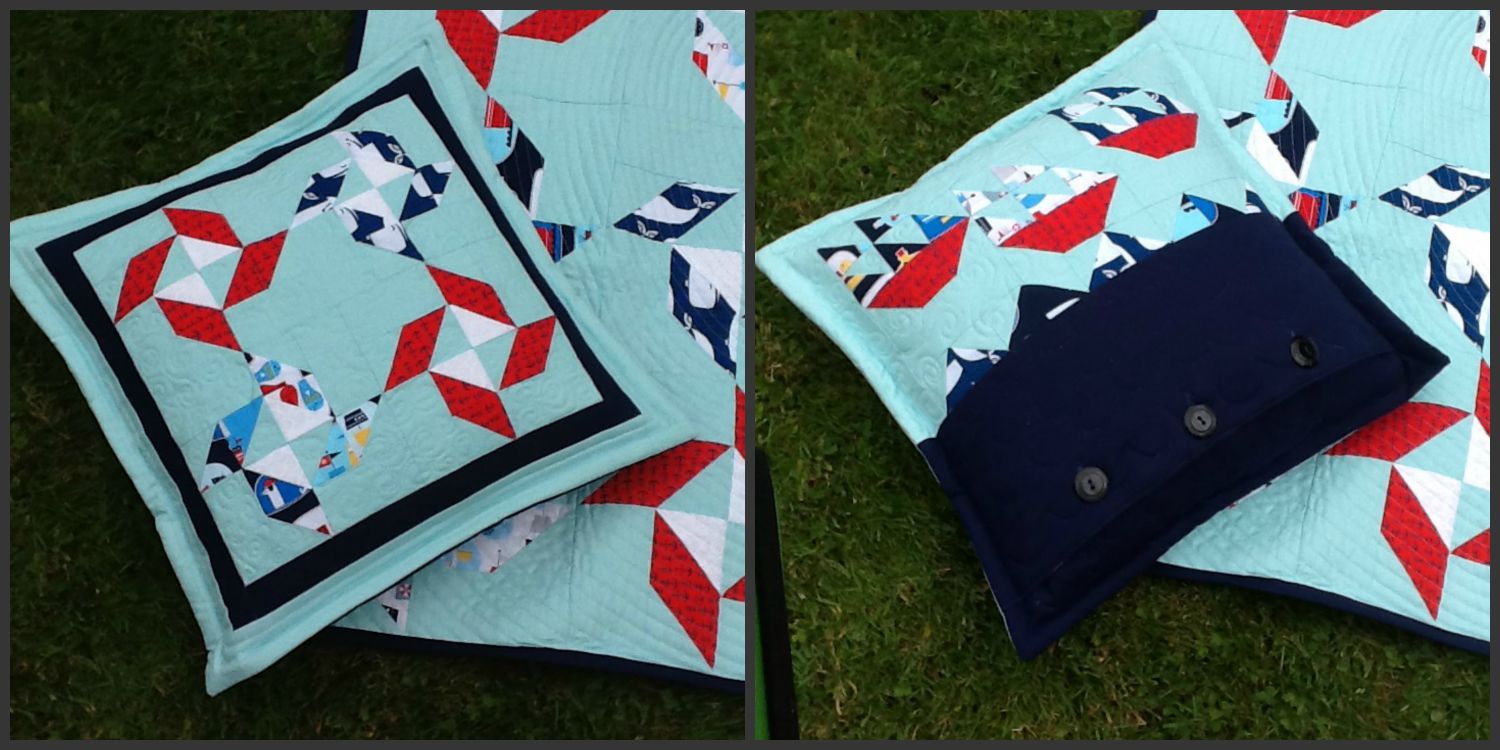
Please read all the way through the instructions before starting. This will be most important if you wish to make the bonus project - a cute matching double sided cushion (the tutorial for this will be on my blog).
Use a quarter inch seam allowance throughout unless otherwise stated.
Yardage Requirements
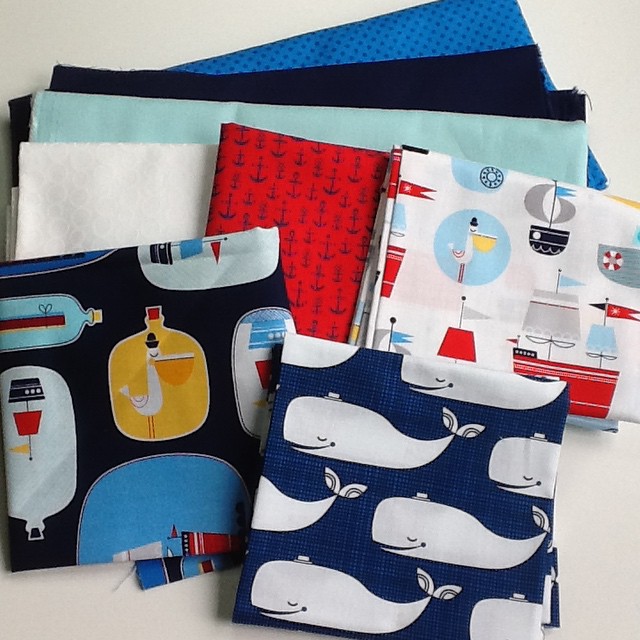
1 FQ each of the four Message in a Bottle prints: Bottles Navy; Red Anchors ; Boats Multi and Navy Whales
1 FQ of white - we used Muslin Mates - Bubbles
1 1/2m of light blue for background - we used Kona Aqua
1/2 m of navy or dark blue for binding we used Kona Storm
42" square of wadding
44" square backing of backing fabric we used Star Spangled by Riley Blake
Feature fabrics
Cut six 3″ strips from each FQ of feature fabric
Sub-cut sixteen 3″ x 5 1/2″ rectangles from the 3″ strips of each feature fabric
Total of sixty four 3″ x 5 1/2″ rectangles from all the feature fabrics combined
Background fabric - Kona Aqua
Cut twelve 3″ strips of background Aqua fabric and sub cut sixty four 3″ x 5 1/2″ rectangles
Cut ten 3″ strips of background Aqua fabric and sub cut into ninety three 3″ squares
White fabric - Muslin Mates - Bubbles
Cut thirty two 3″ squares
Binding - Kona Storm
Cut four 2 1/2″ x WOF strips from the navy fabric for binding. Join into one continuous strip. Fold in half and press.
Making the block
Step 1
Mark a diagonal line across all 3″ squares - retain till Step 3
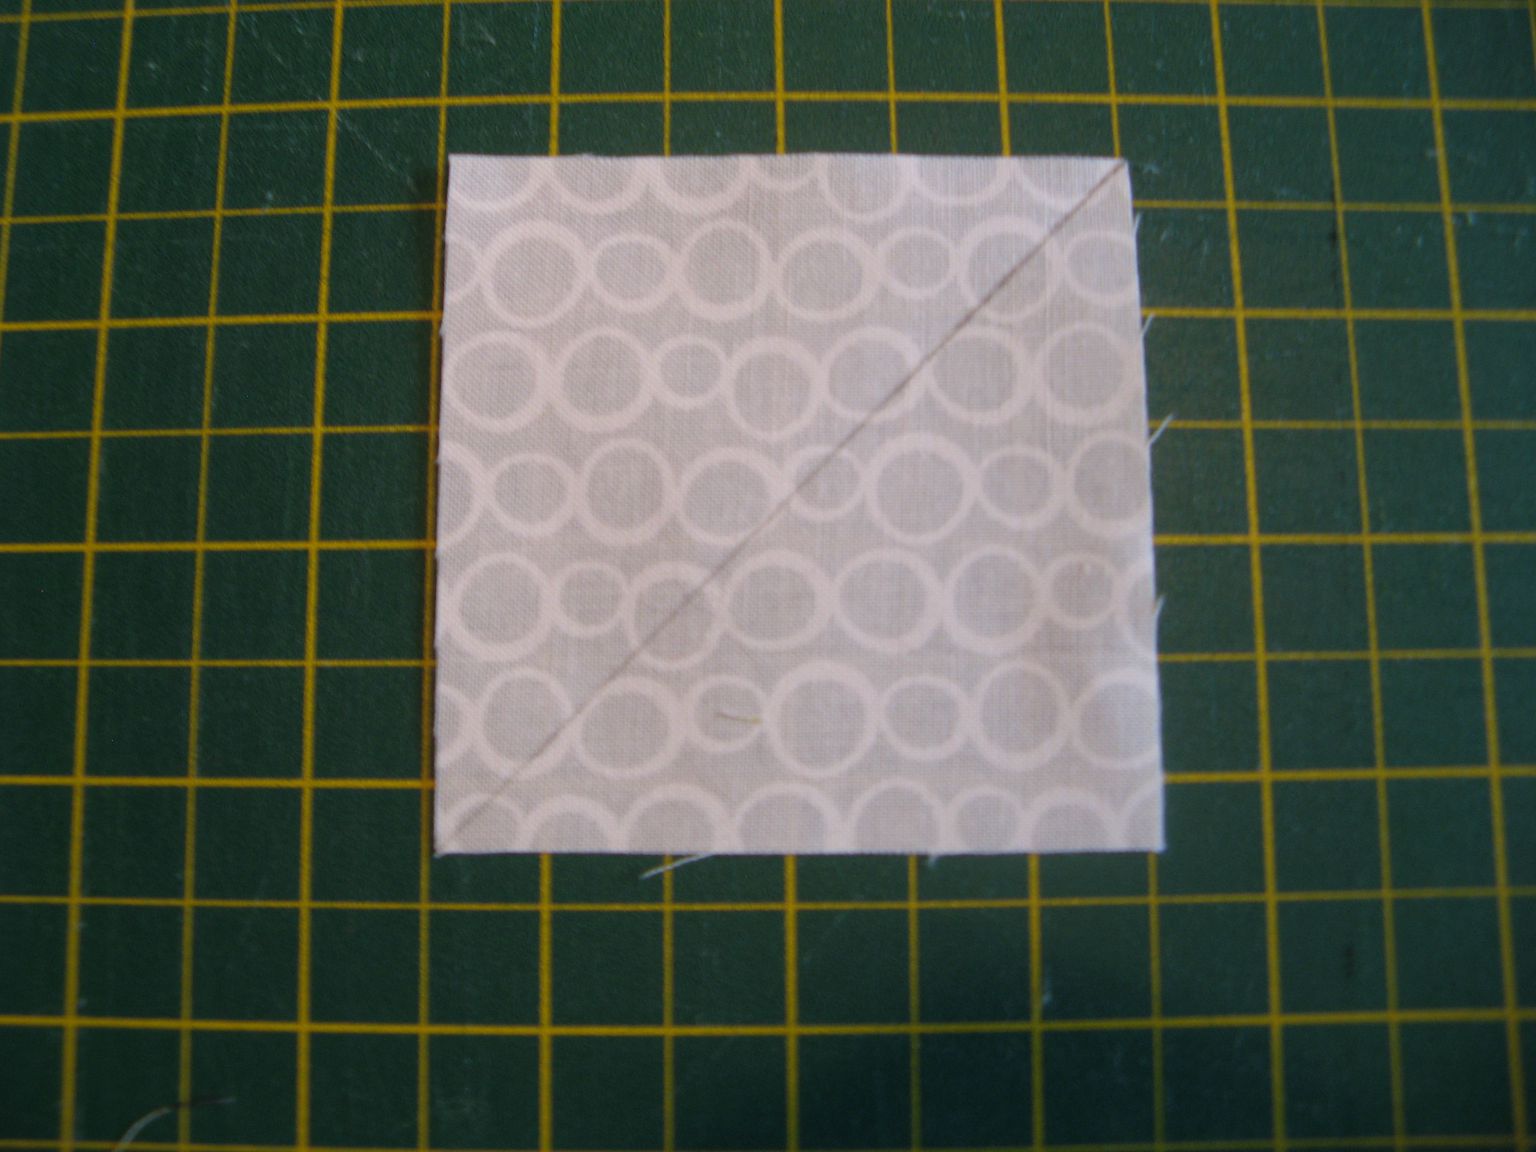
Tip: I often just press the square diagonally in half and use the crease as my stitching line or use a pencil to mark a line, but you can use your preferred method just ensure that the mark is NOT permanent.
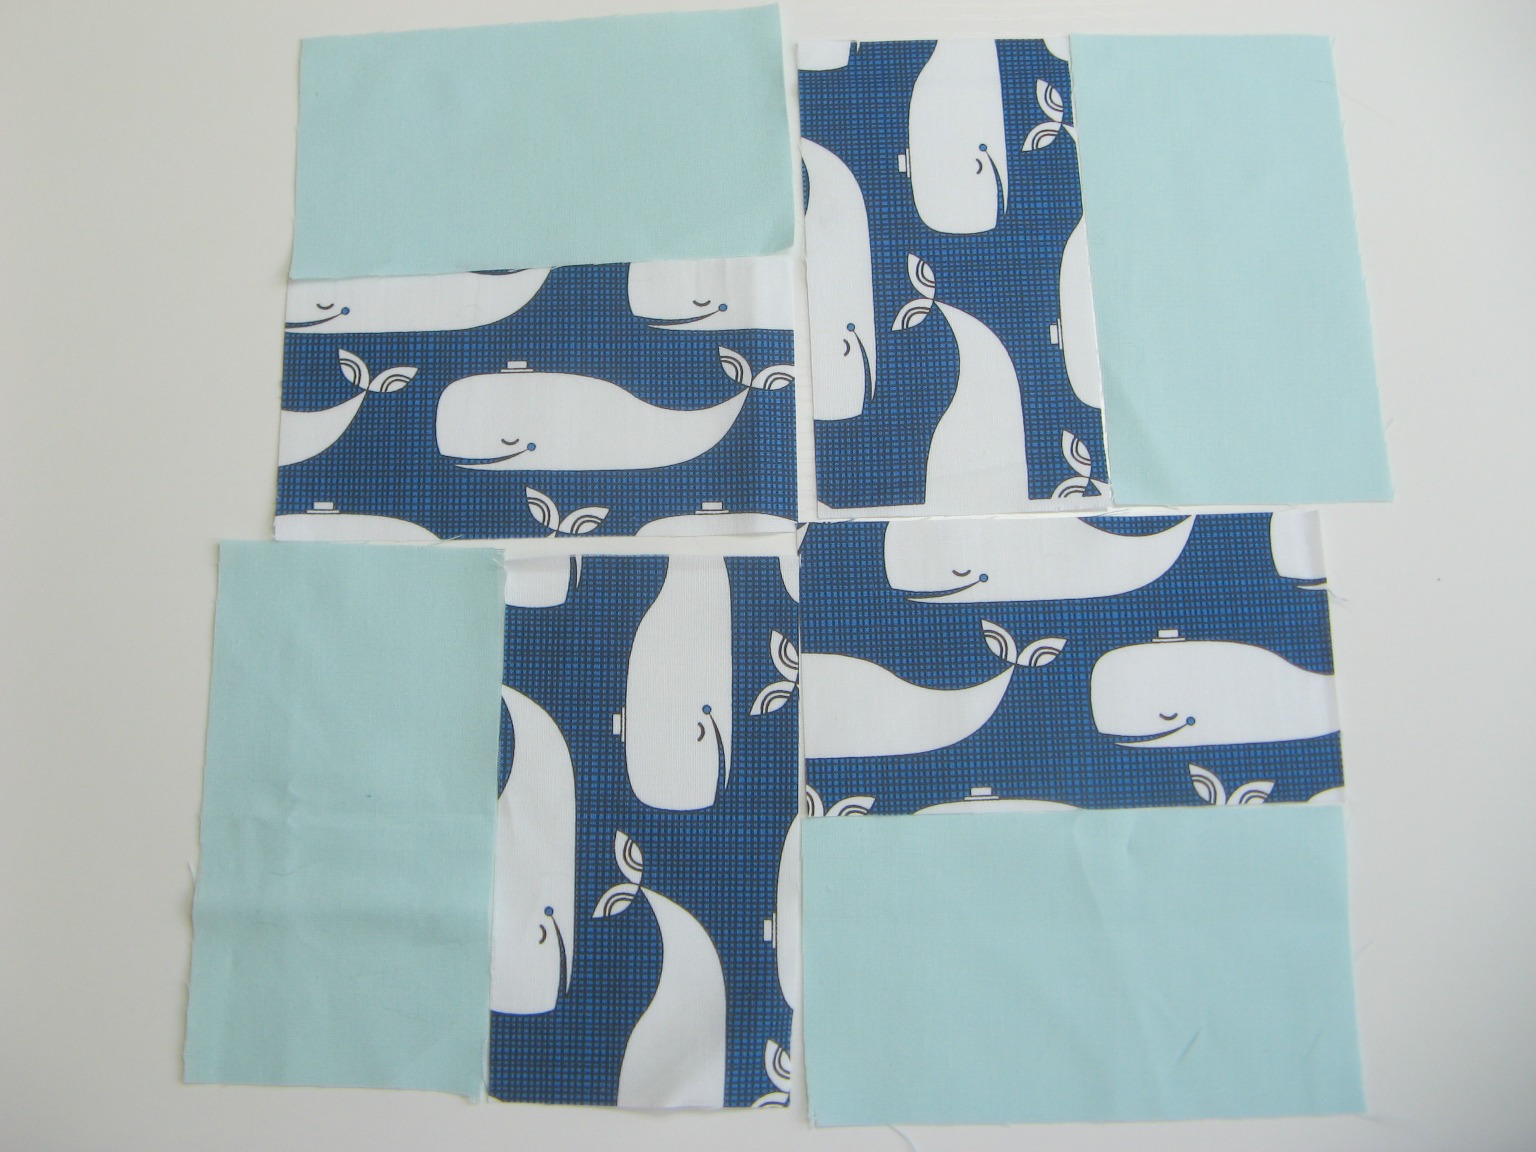
Step 2
Divide each feature fabric into four groups of four rectangles, and four background rectangles. Arrange each block as pictured below.
Step 3
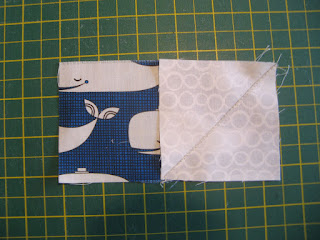
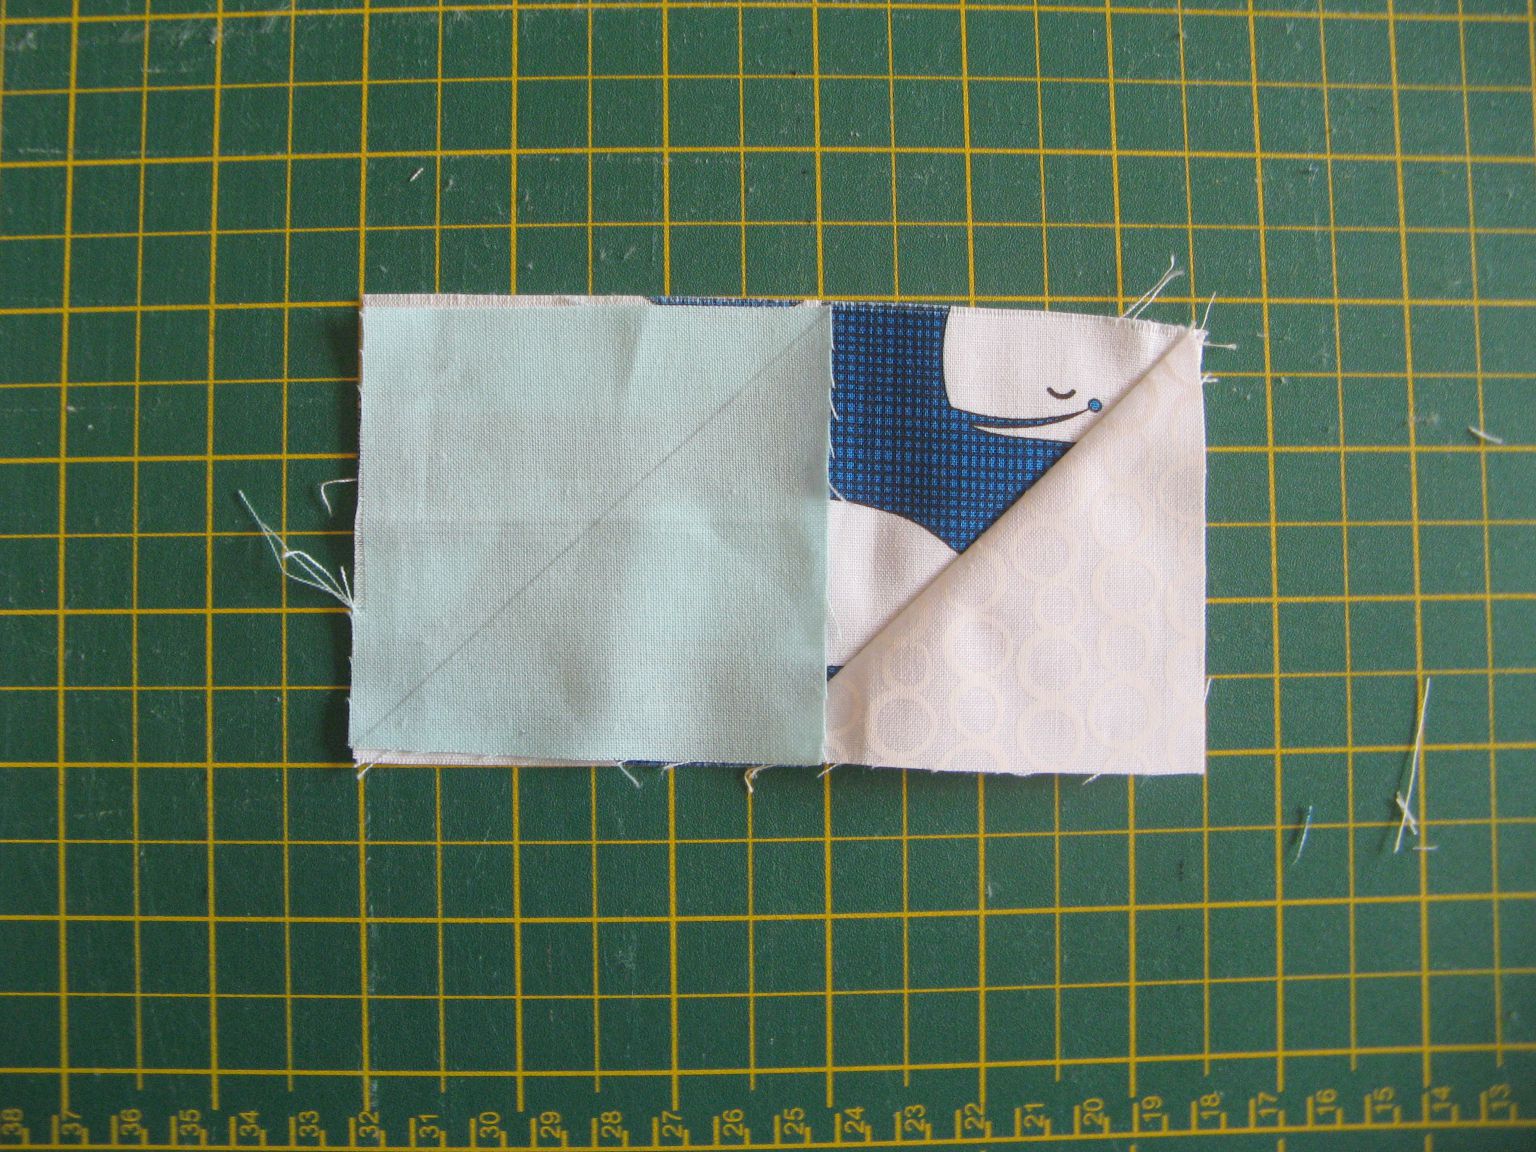
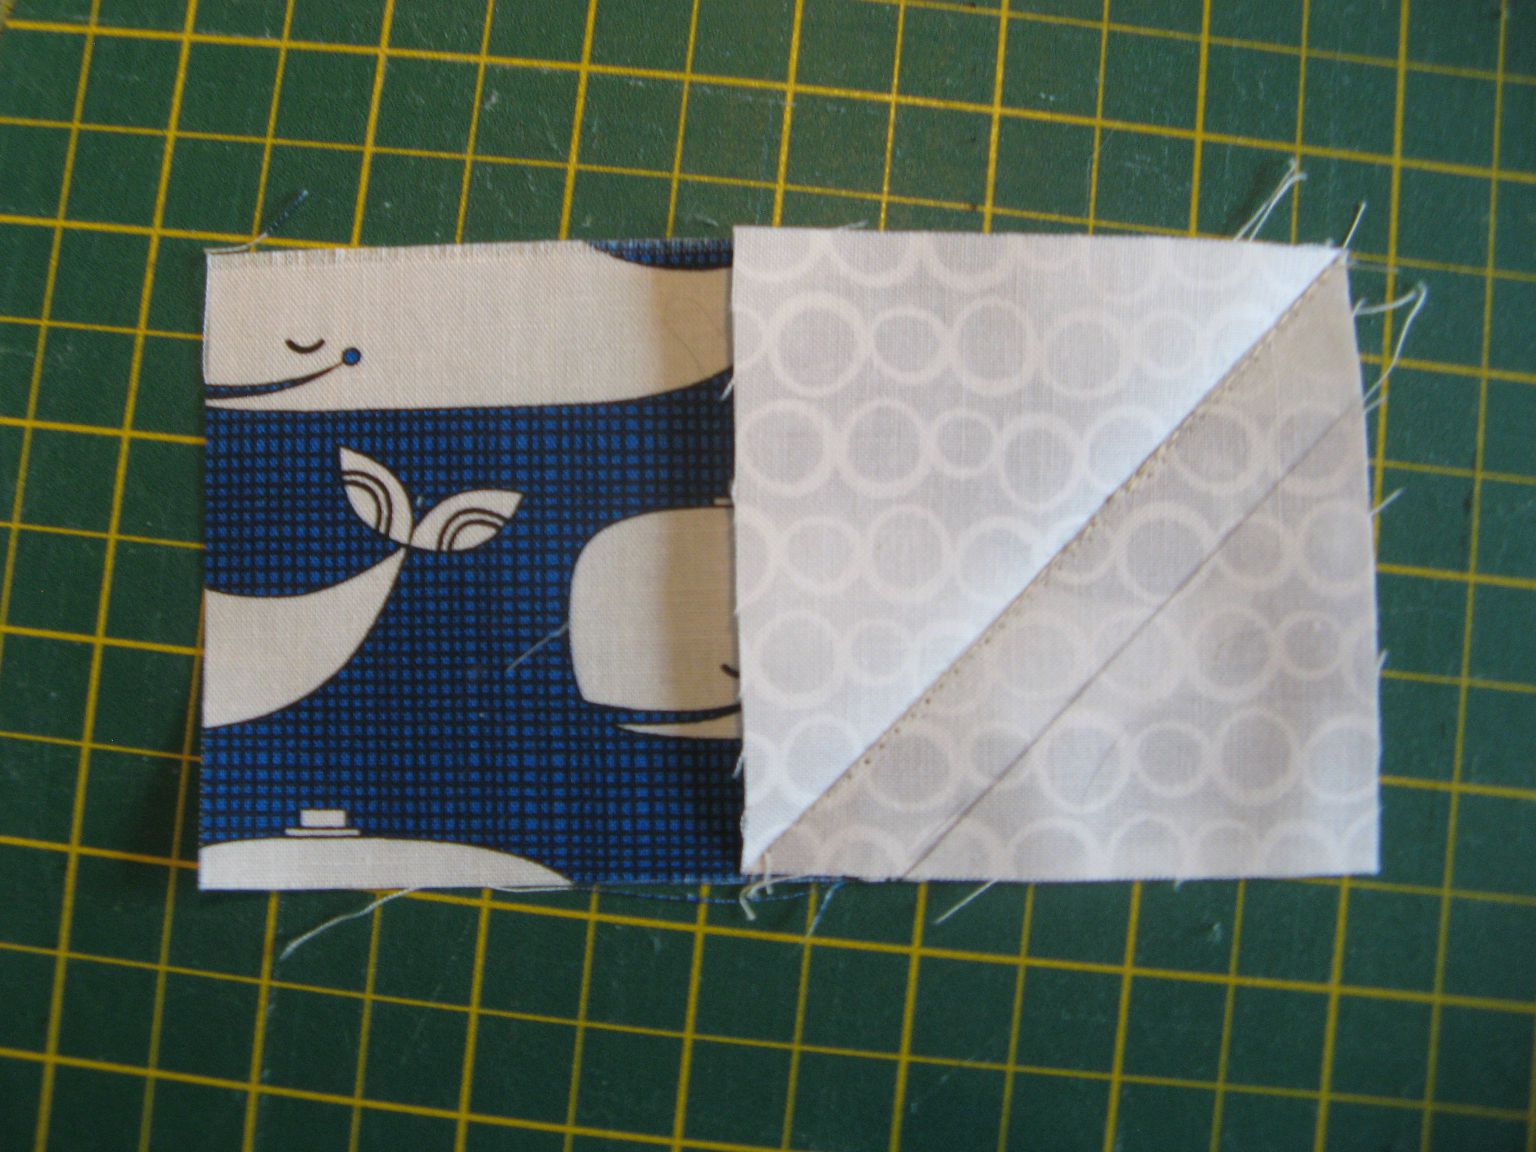
Now lay two marked white squares and two marked background squares (from Step 1) on top of the feature fabric rectangles, as shown below.
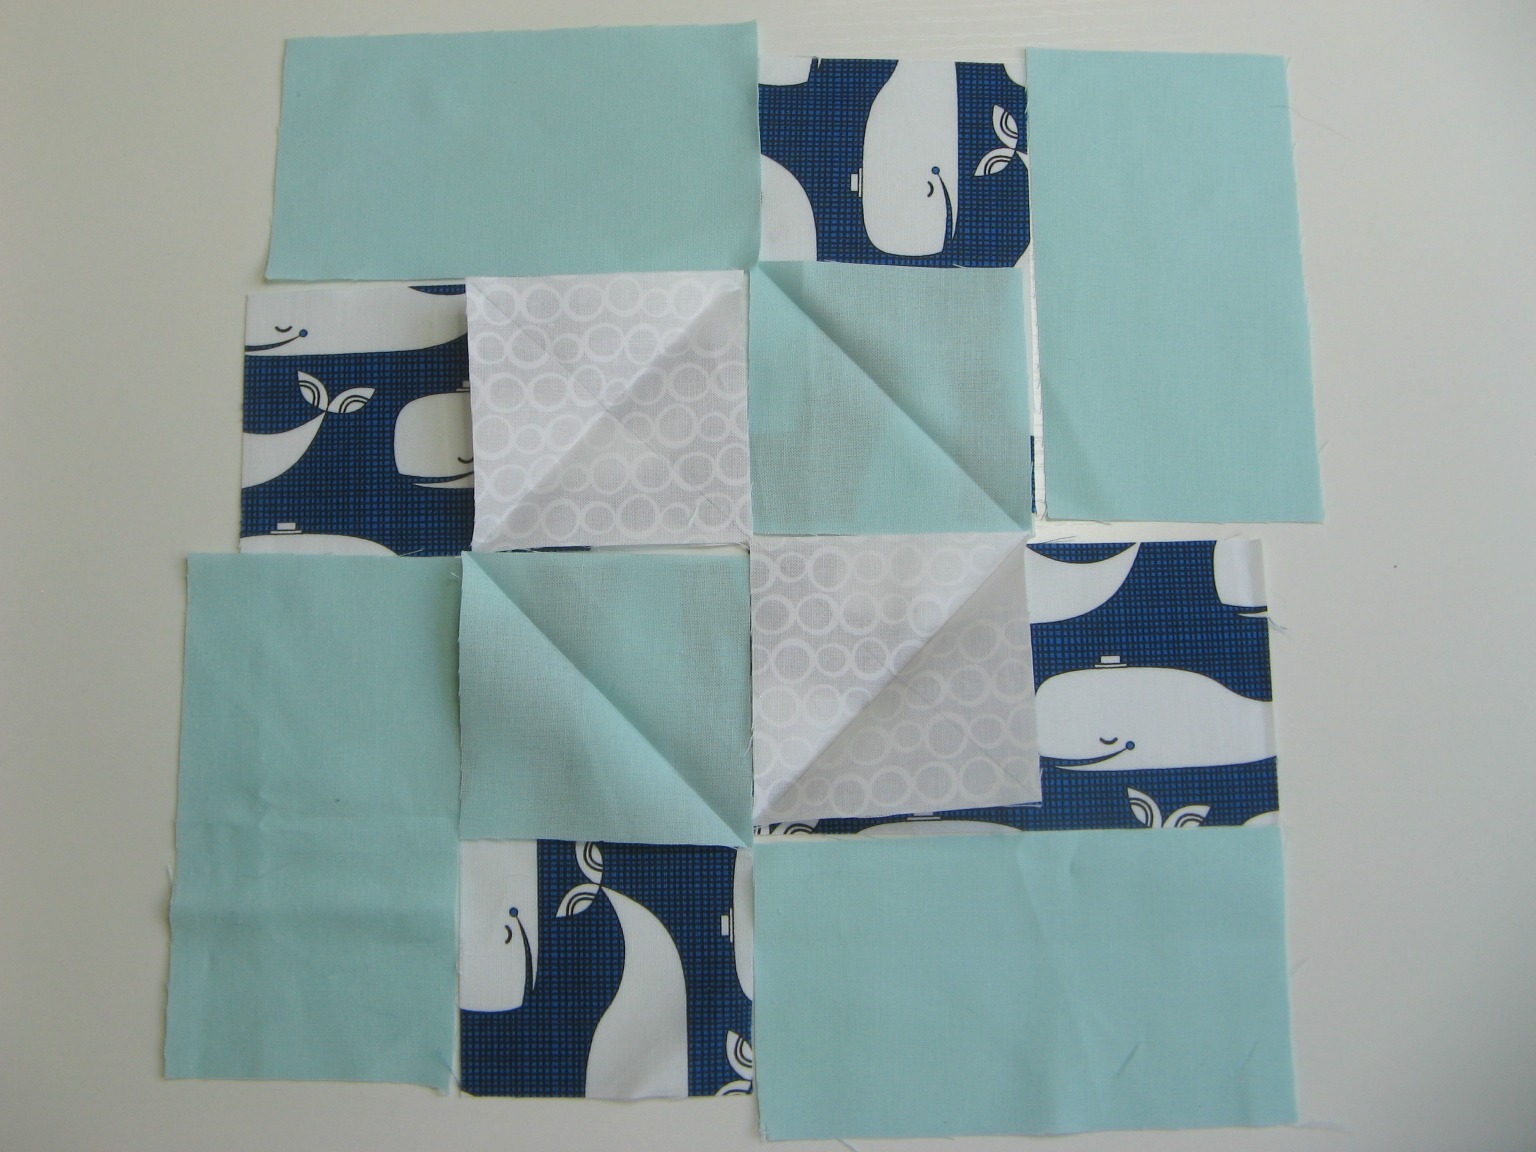
Pin if necessary to hold the squares in position and stitch on the marked lines.
Below is one example of how it will look:
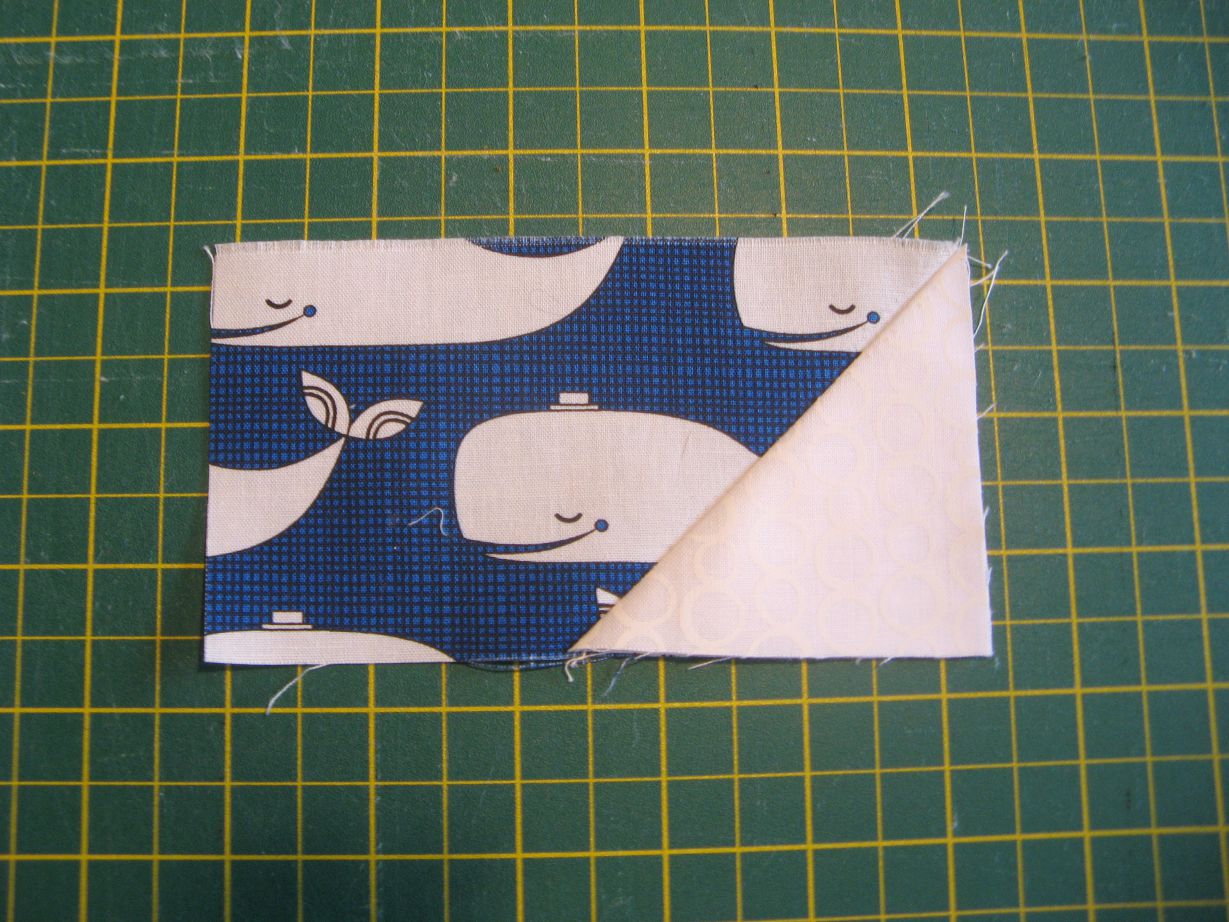
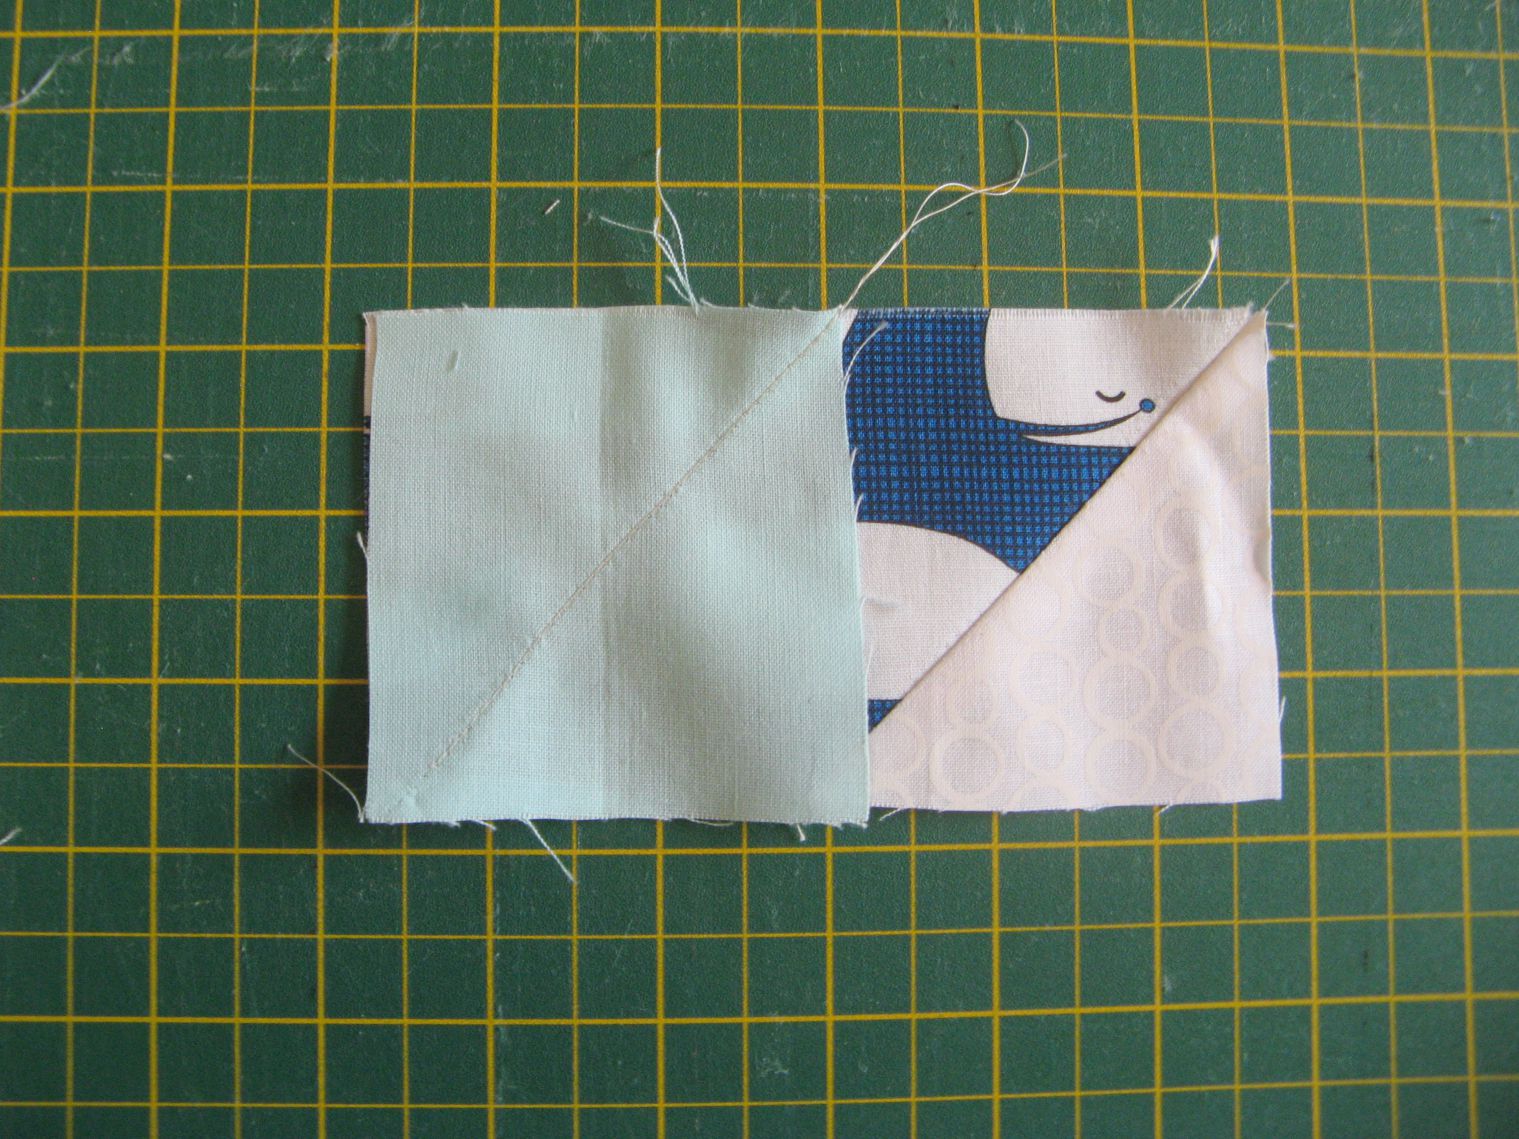
Fold down the triangular flap, ensuring that the triangle flap covers the whole of the corner - this means that you have stitched correctly. If not, then restitch before proceeding. Doing this step will make your blocks accurate.
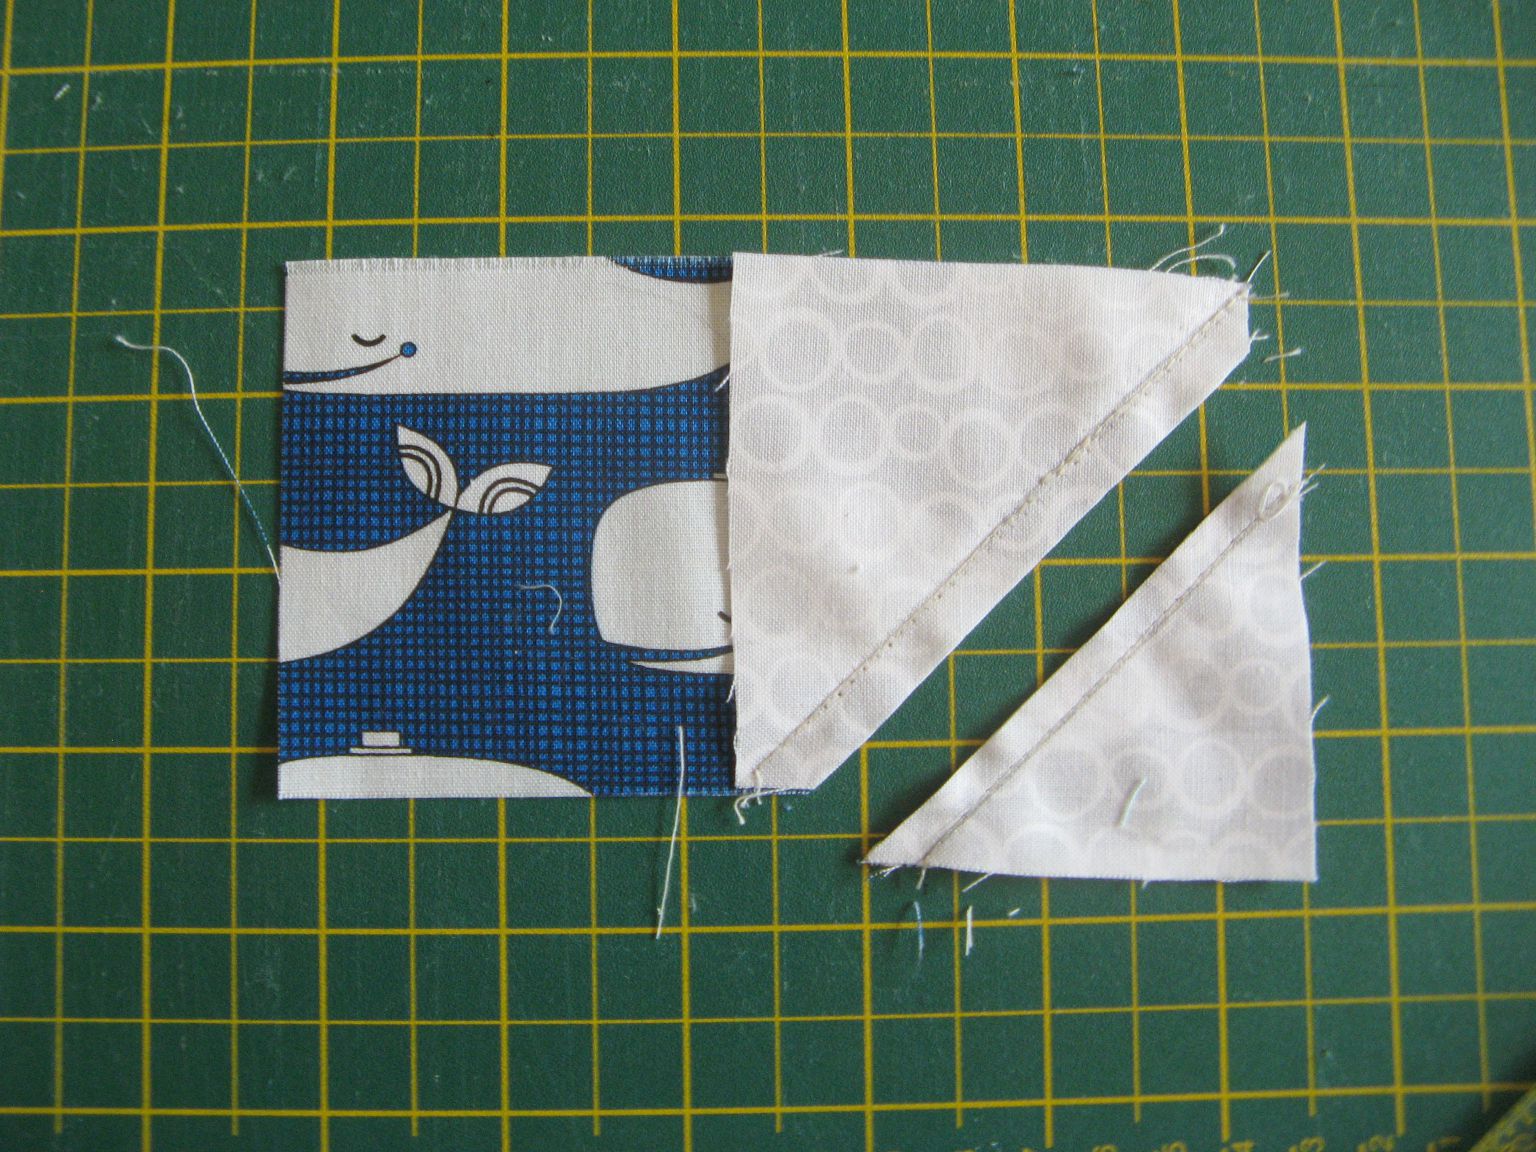
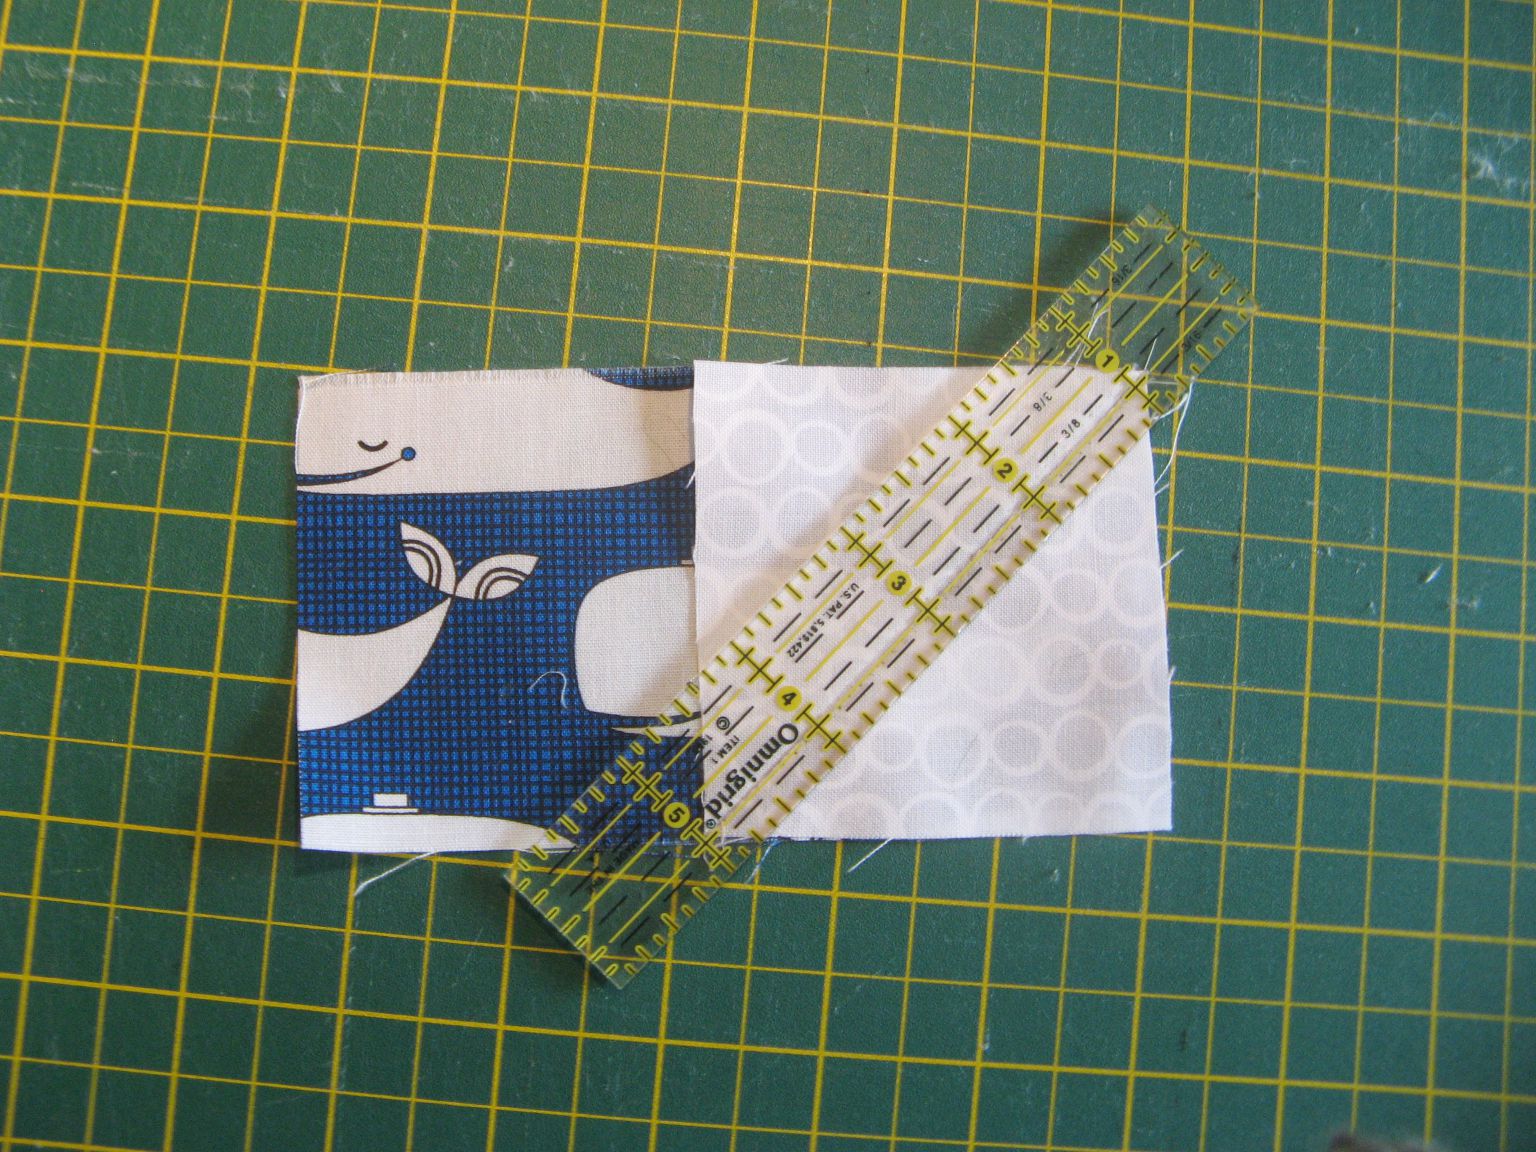
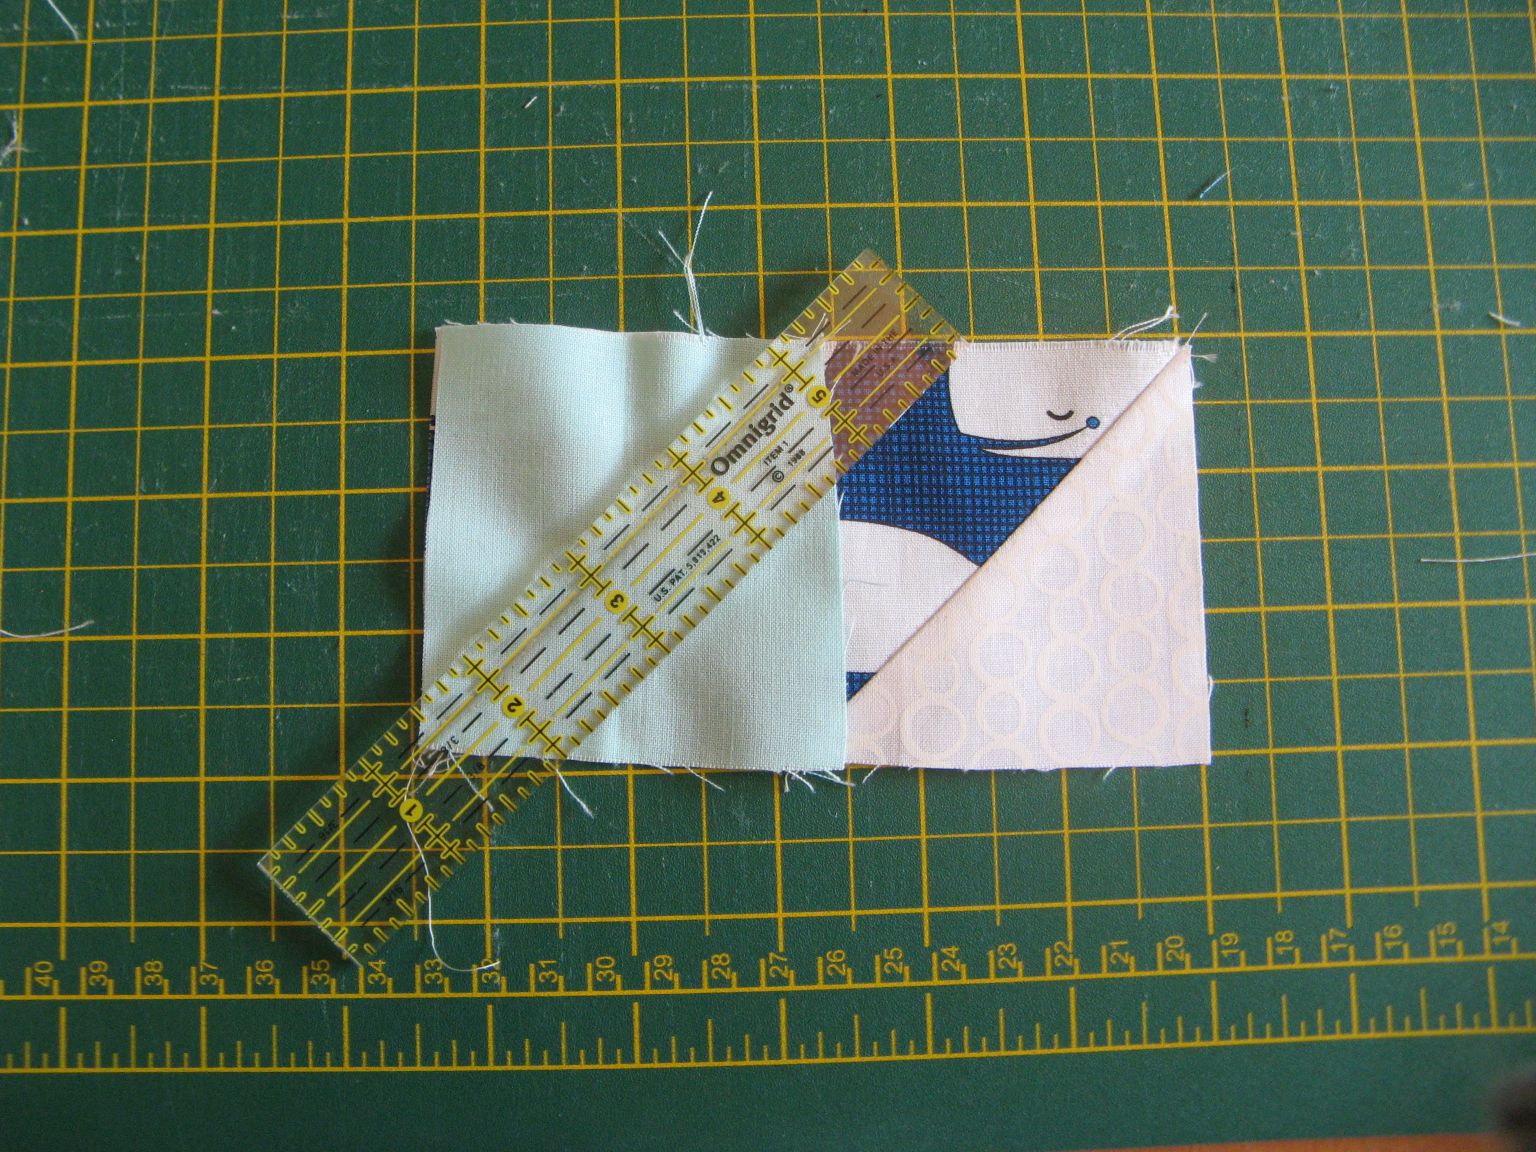
Open up again and trim wastage triangles off (unless you are making Bonus HSTs - see last section of this tutorial). Line up the quarter inch line on your ruler with the stitching line and trim both layers: the square and rectangle fabric below. Press seams open.
Make one more unit with a white square and feature fabric rectangle; and two more with background coloured squares and your feature fabric rectangles.
Stitch them as pinned at the beginning of Step 3 - they will not all look exactly like the one in the photo as the colour and position of the square will change and that is correct.
Step 4
Add marked background fabric squares to the opposite end of each pieced unit. Ensure that the line on your marked square is parallel to your previous stitching line.
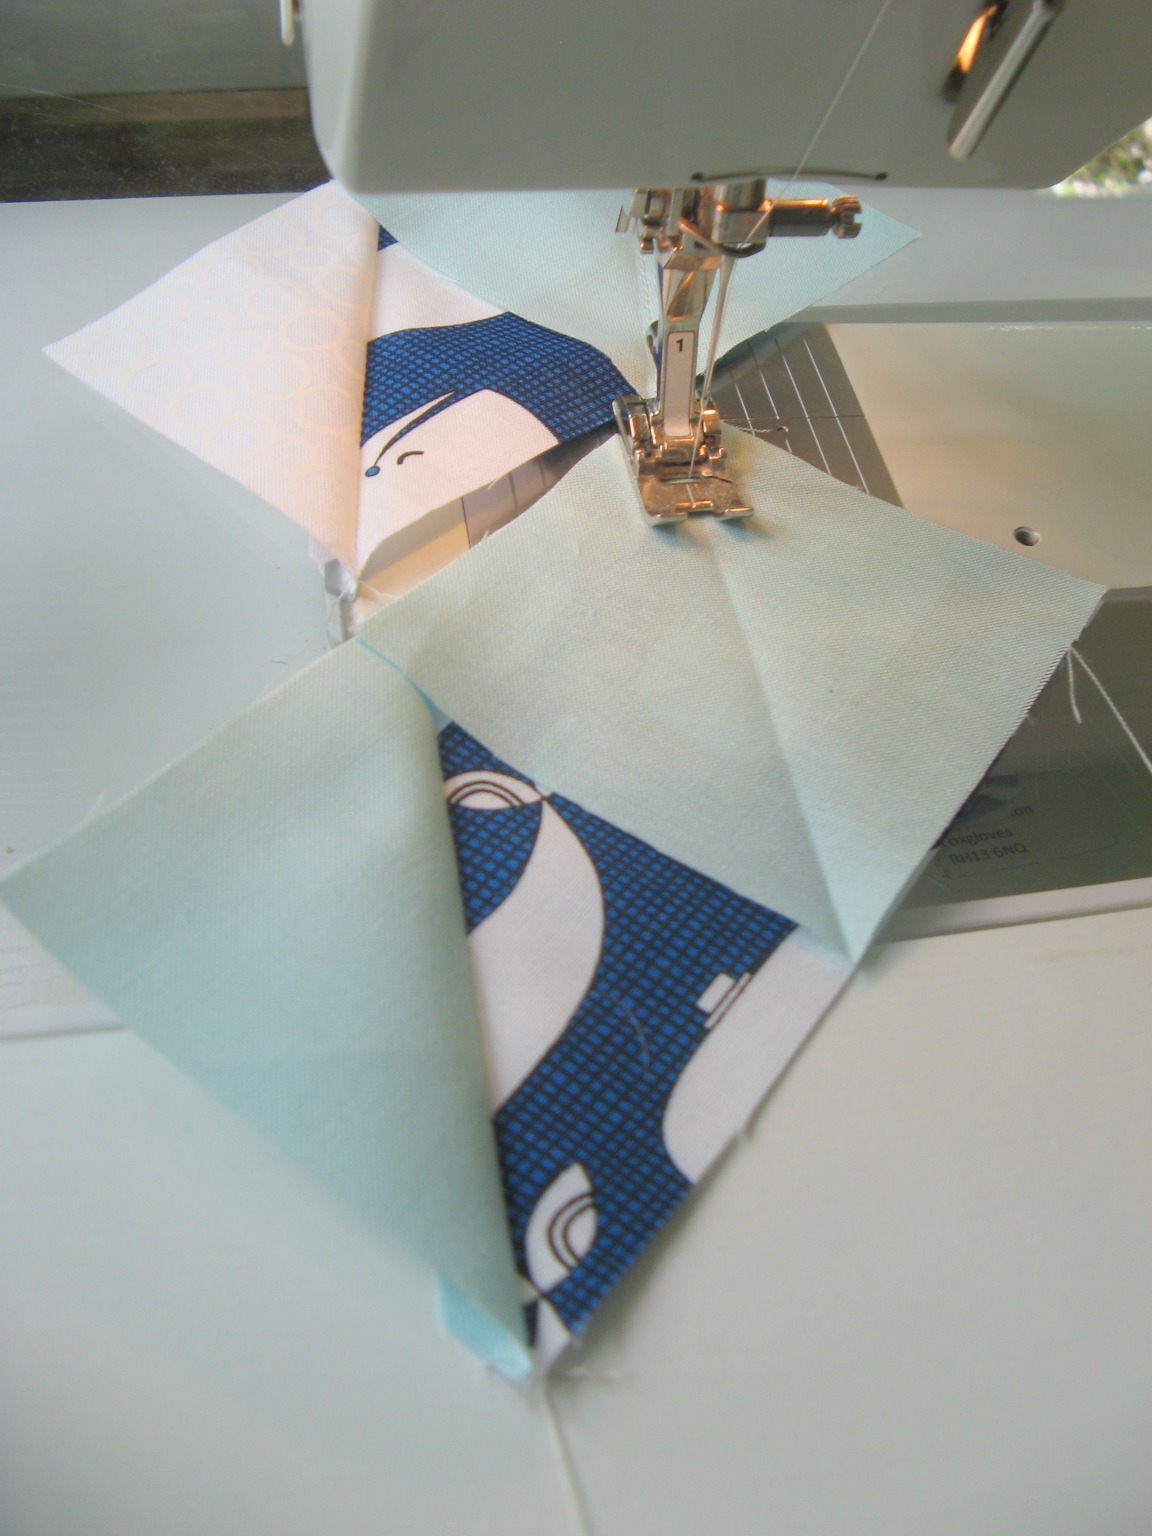
Stitch along the marked line as in photo below.
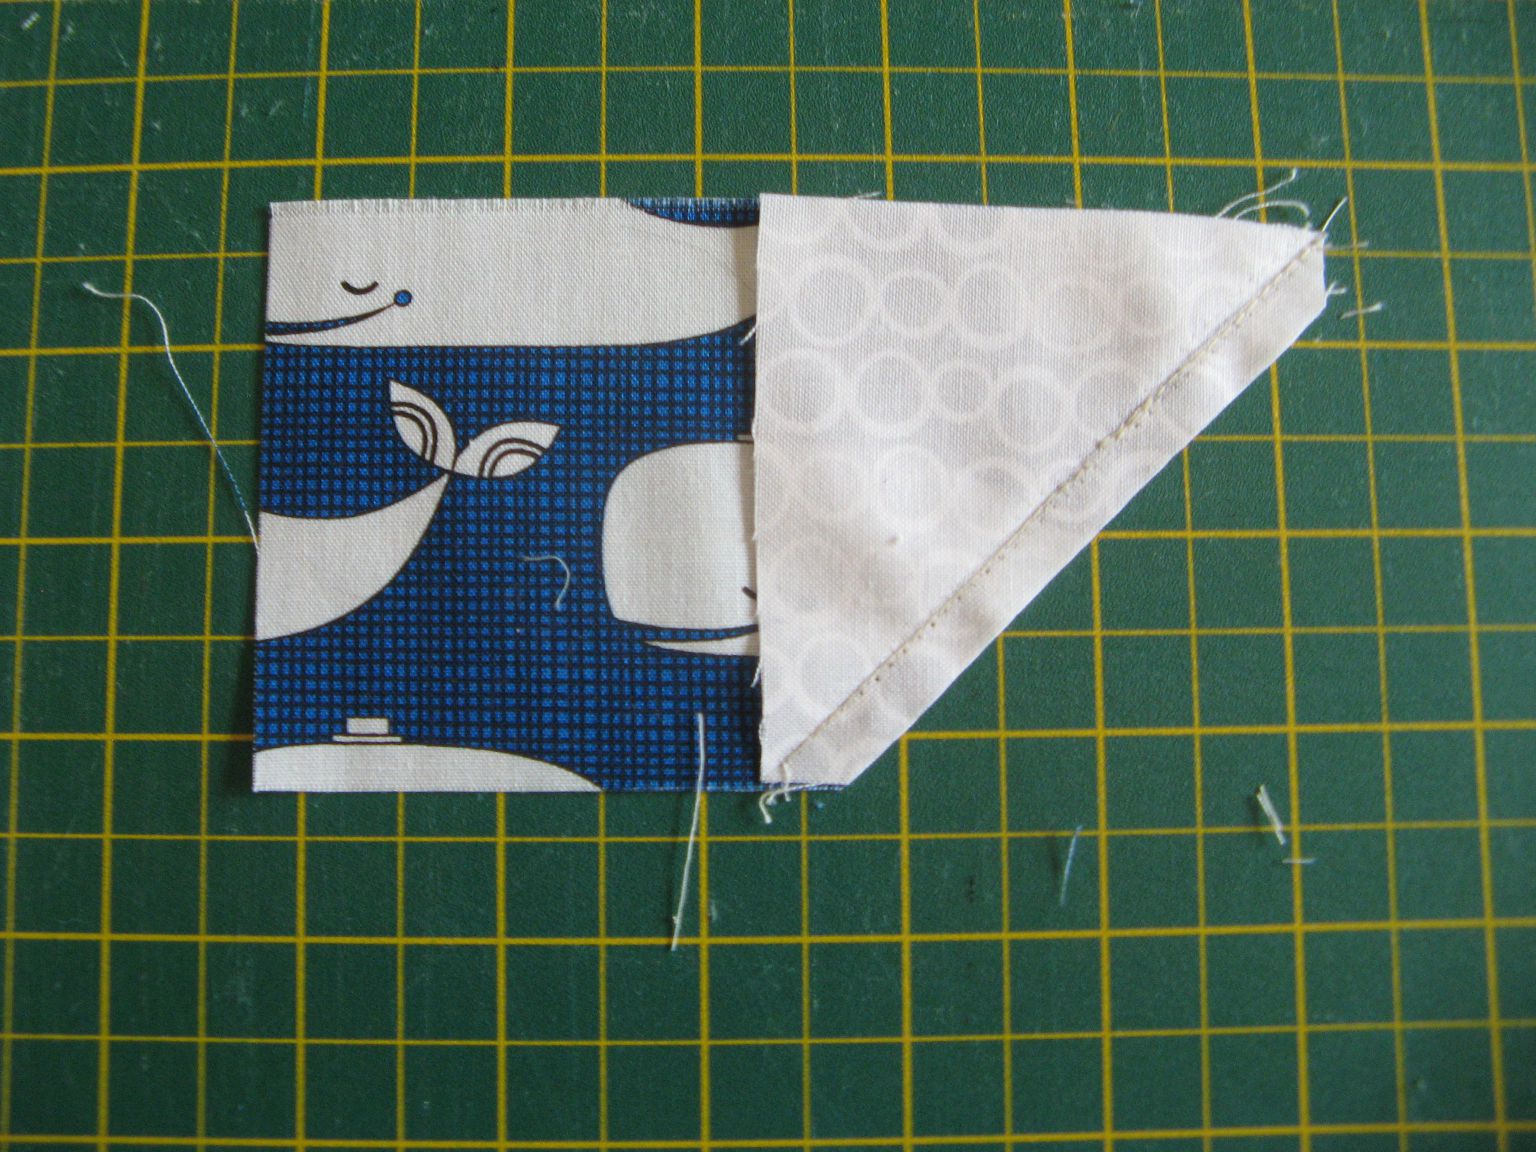
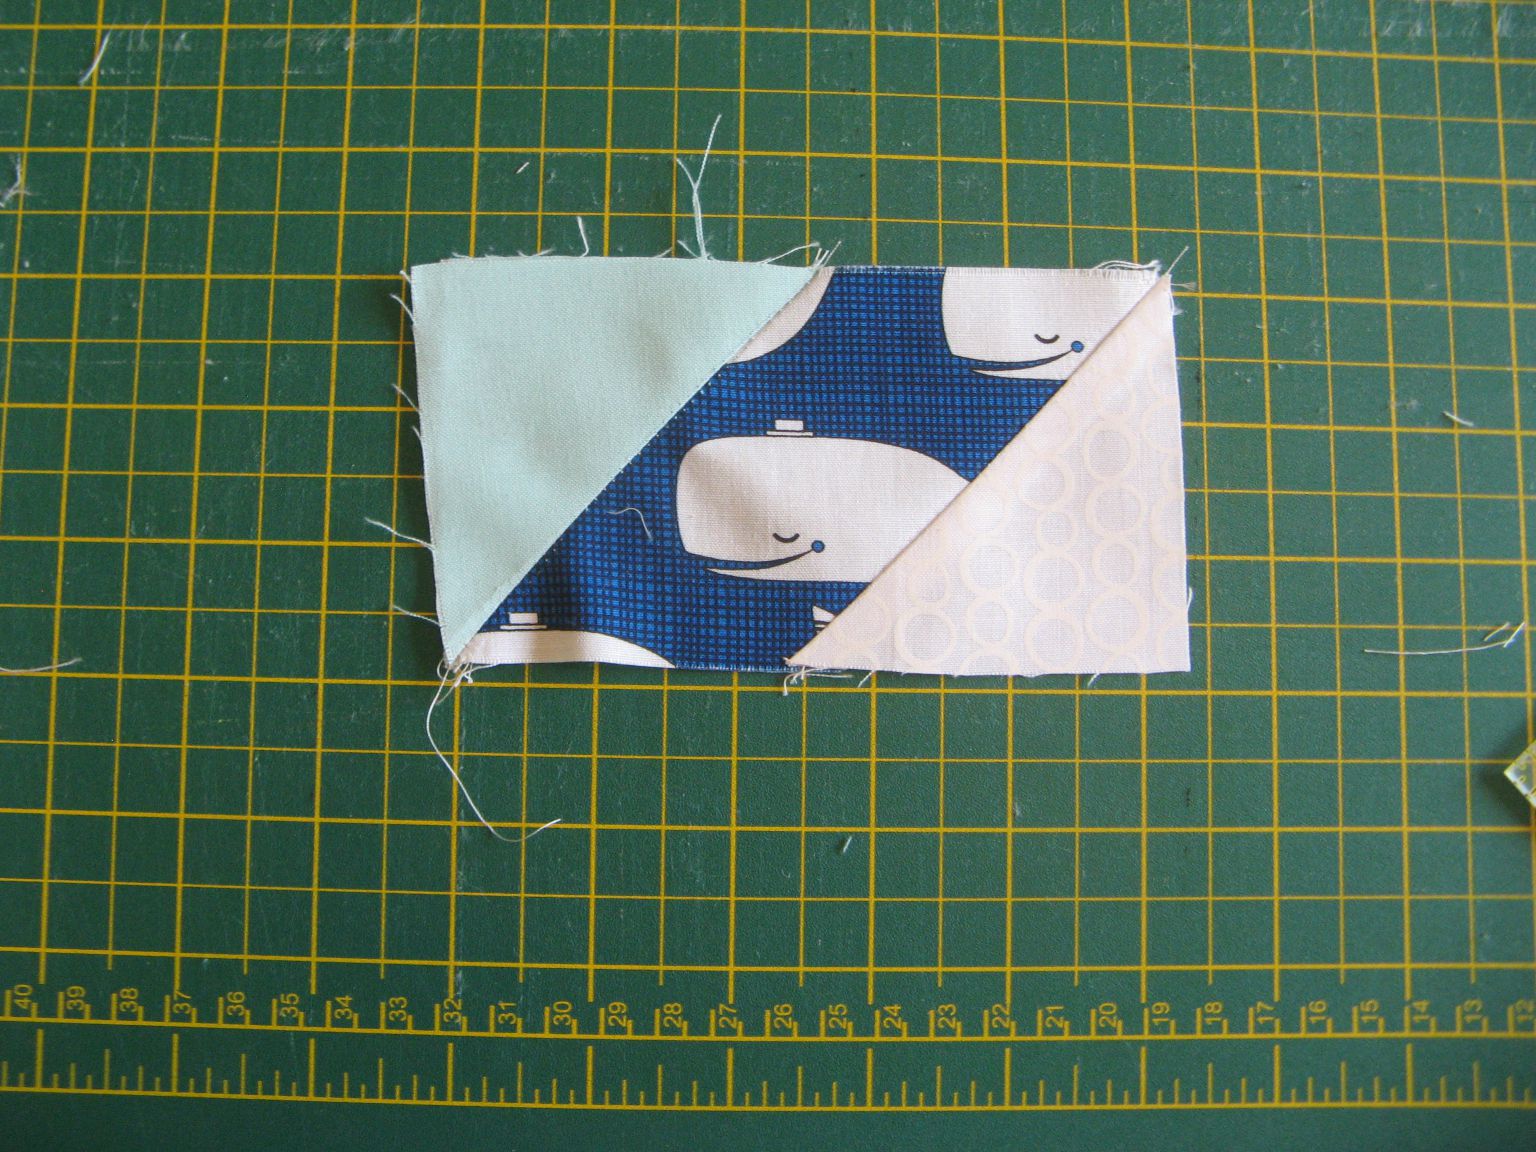
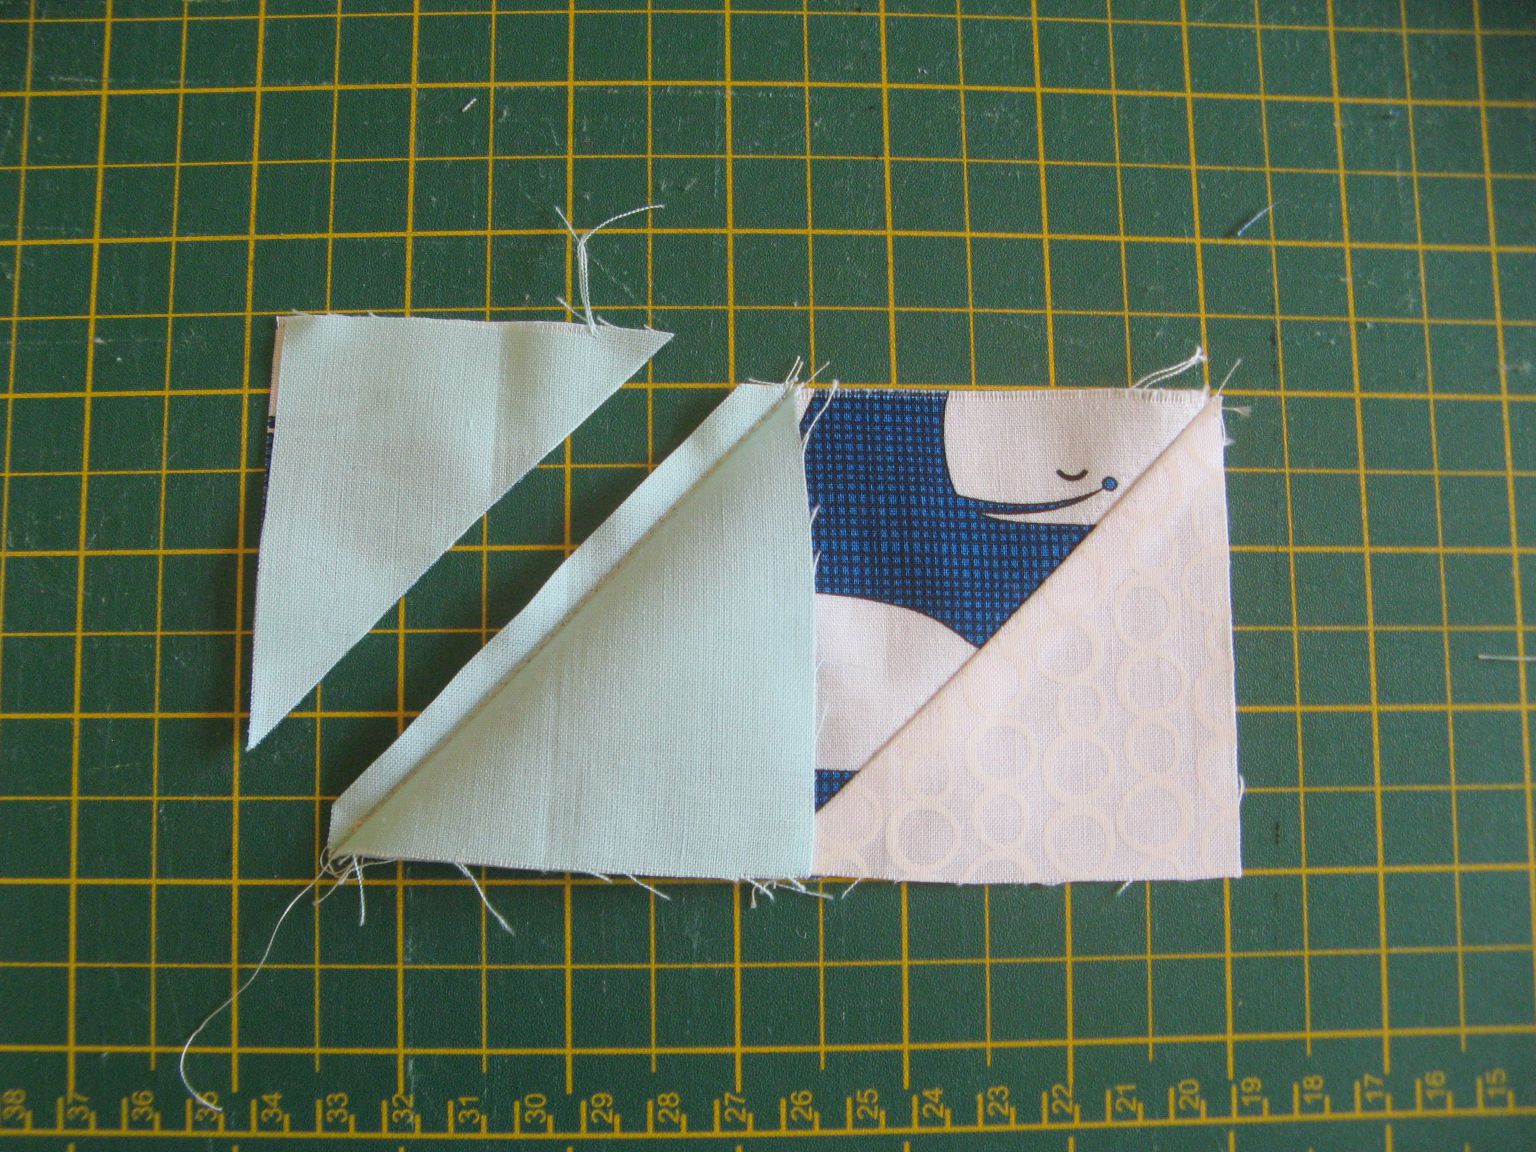
Do check that your stitching results in the correct shape; a parallelogram - see photo below before trimming. Check also that your triangle flap covers what is underneath as before.
Press and trim as in Step 2 (unless you are making Bonus HSTs - see last section of this tutorial).
Again they will not all look exactly like the one in the photo above as the position of the square will change and that is correct.
Repeat for the three other pieced units.
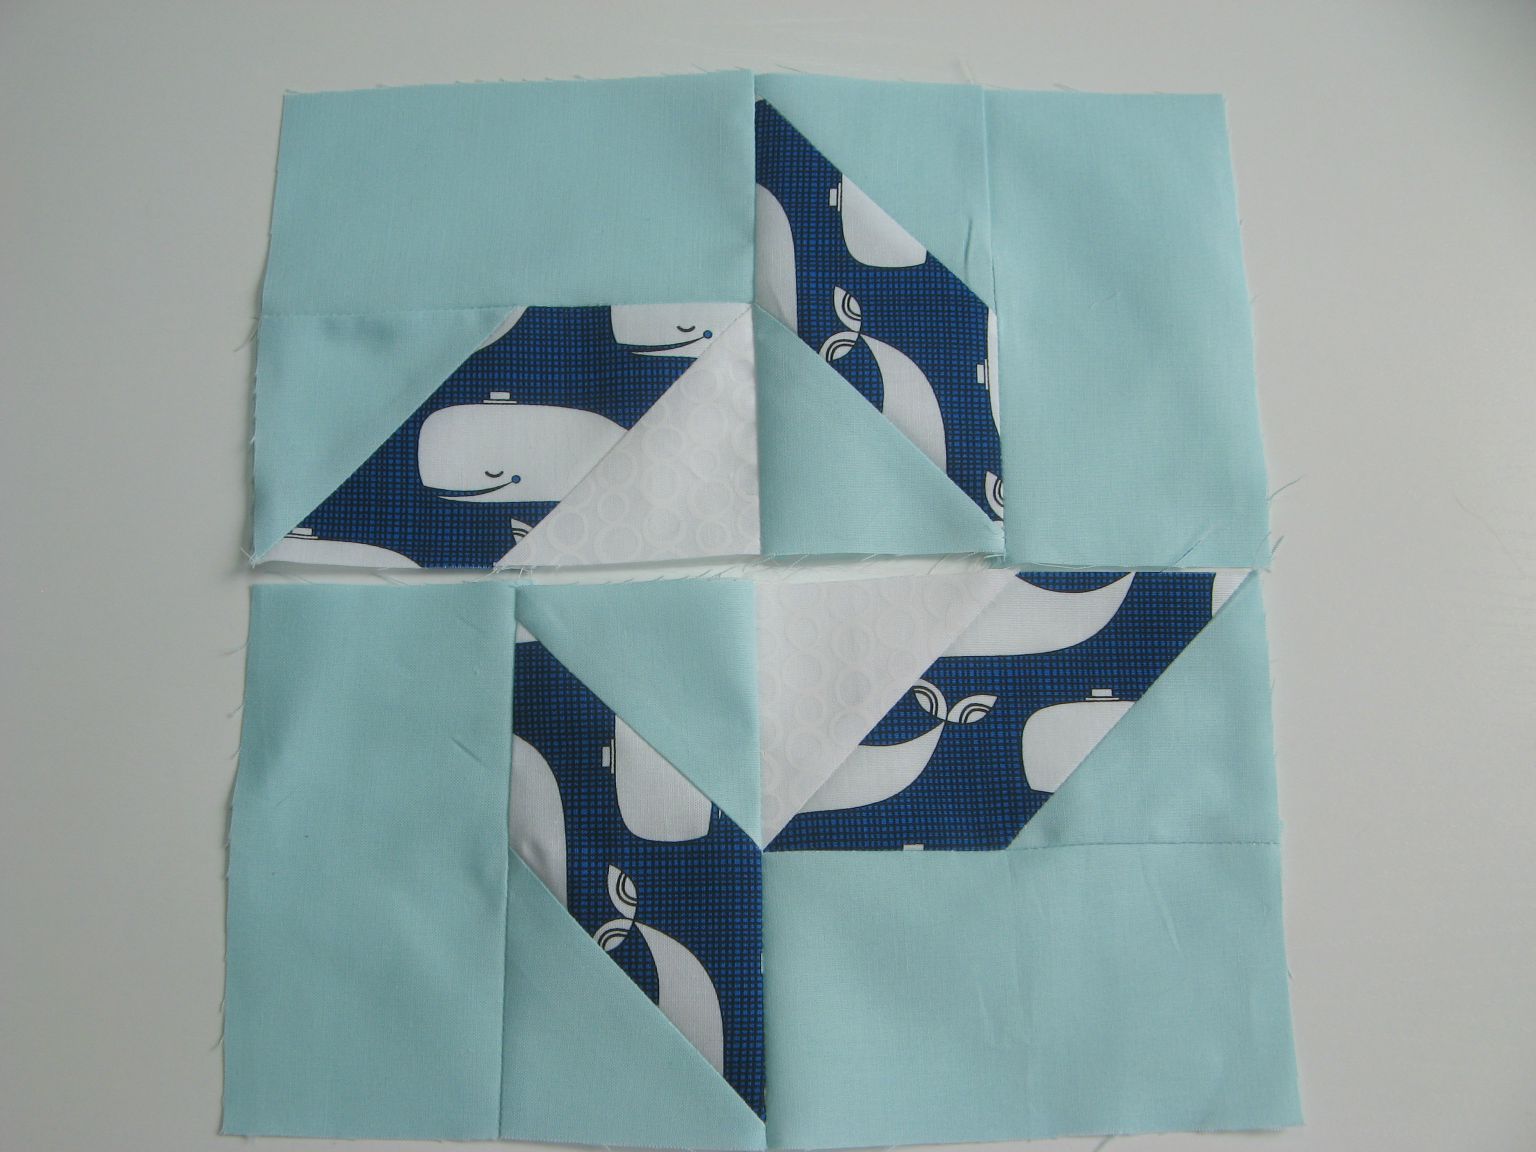
Step 5
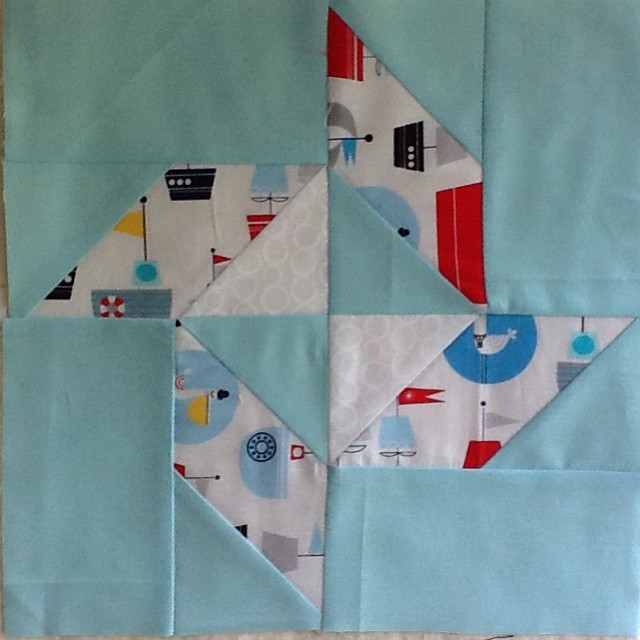
Reposition all four pieced units and now stitch the background rectangles to the outer edge of each.
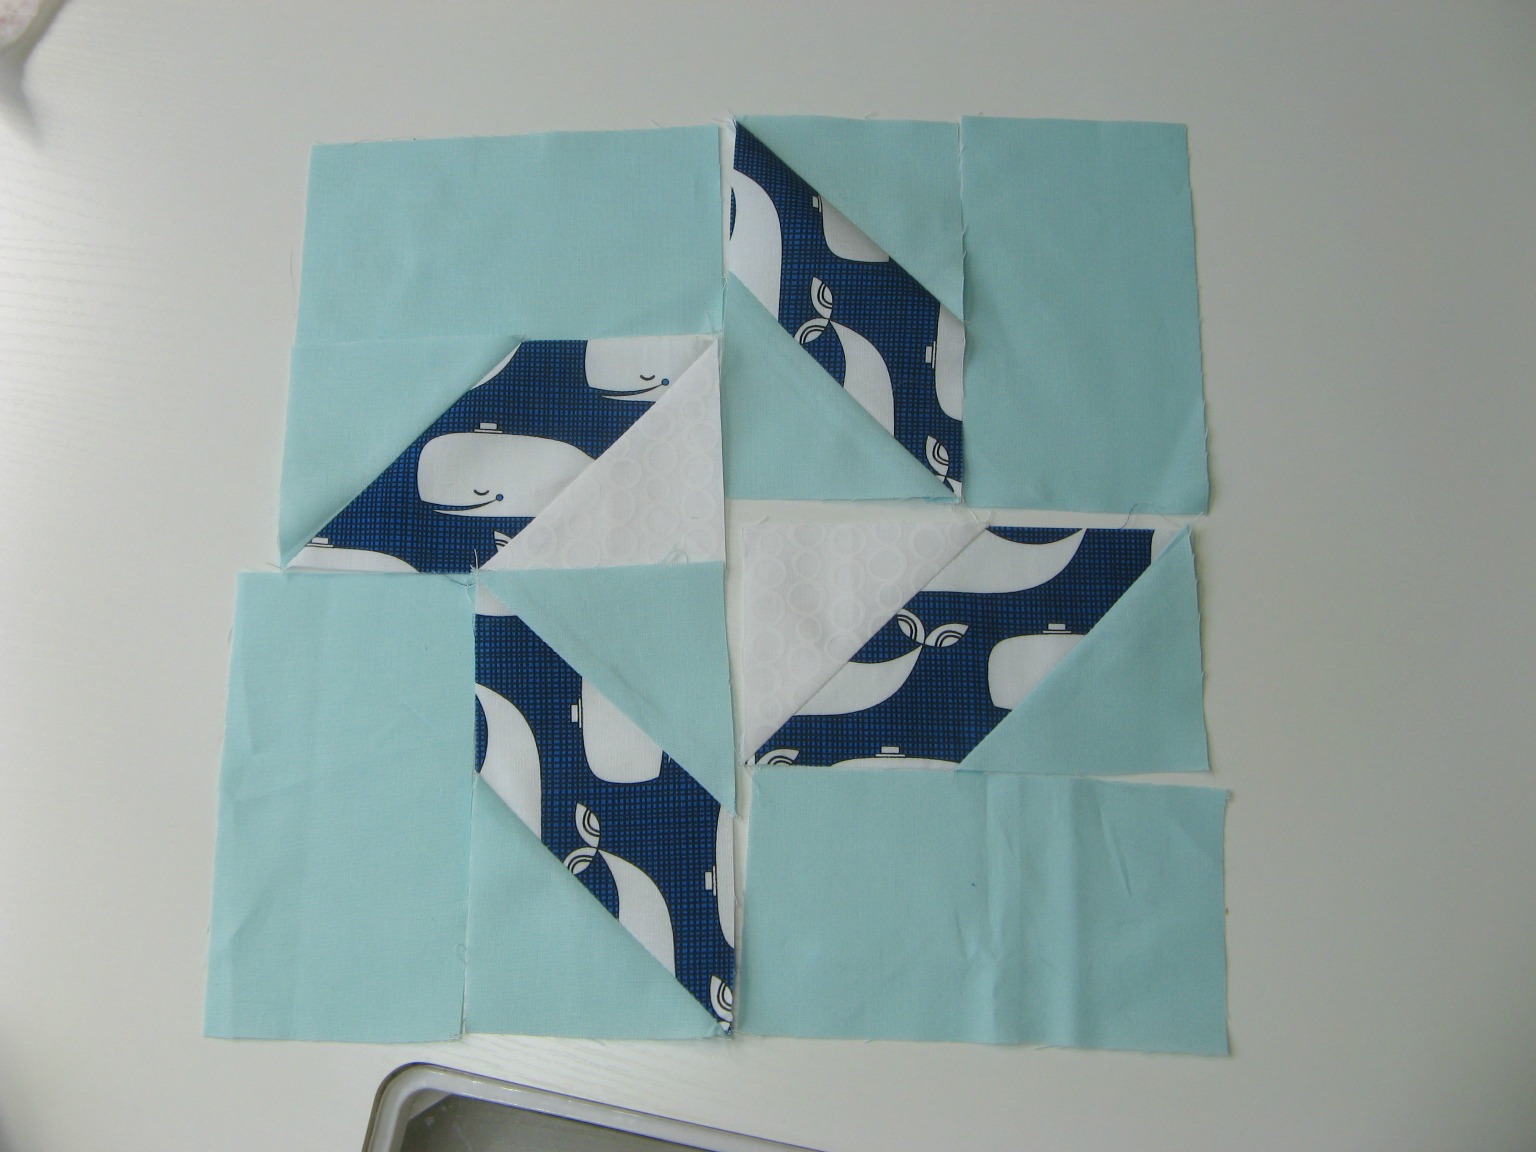
This makes your quarter blocks -
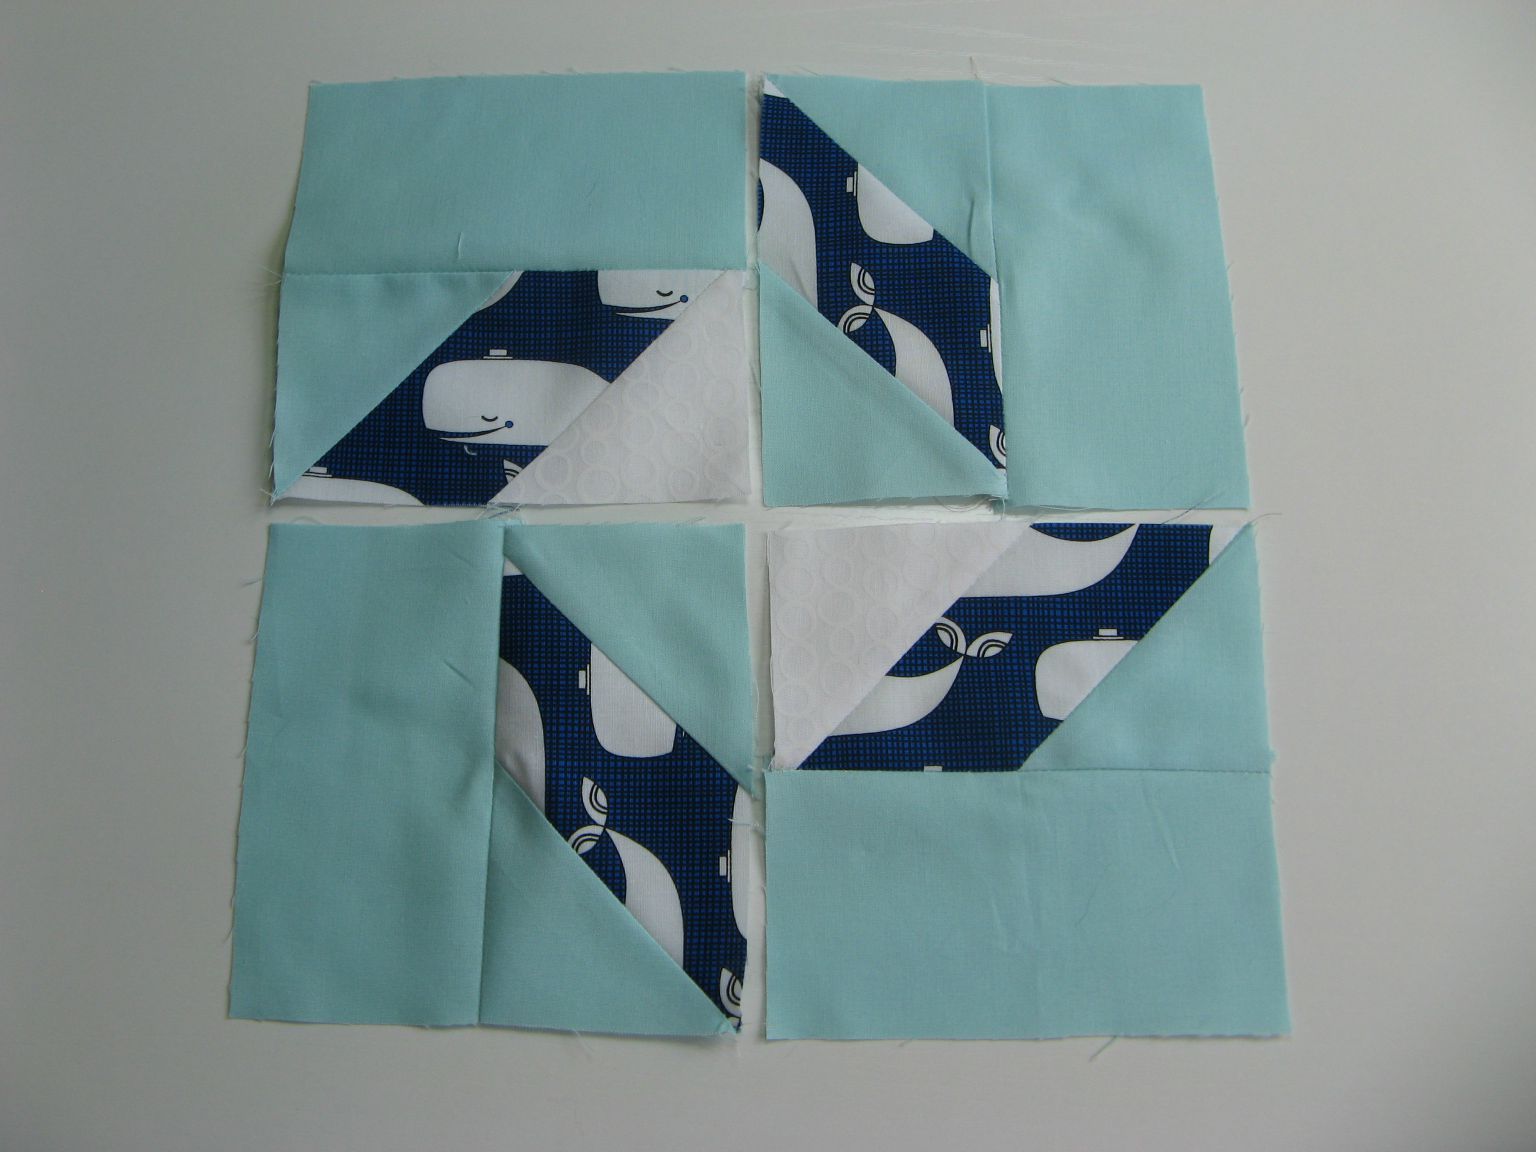
Repeat Steps 2-6 to make sixteen blocks; four from each feature fabric.
Making the quilt
Step 7
Take four blocks, one from each feature fabric, and arrange in rows. Stitch a row of four blocks together.
Repeat for the other three rows.
Step 8
Layer top, wadding and backing fabric and baste using your preferred method.
Step 9
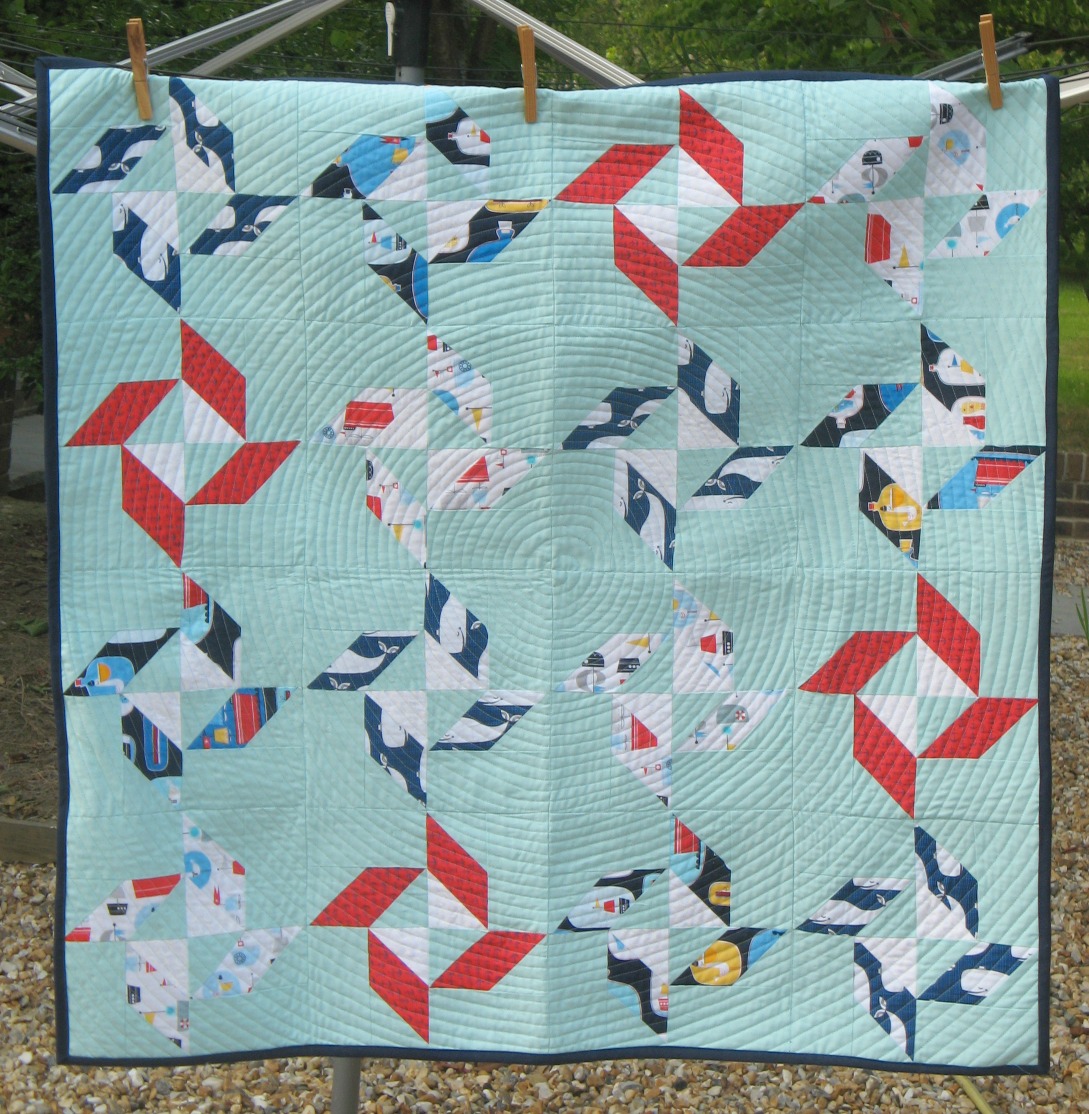
Quilt as desired.
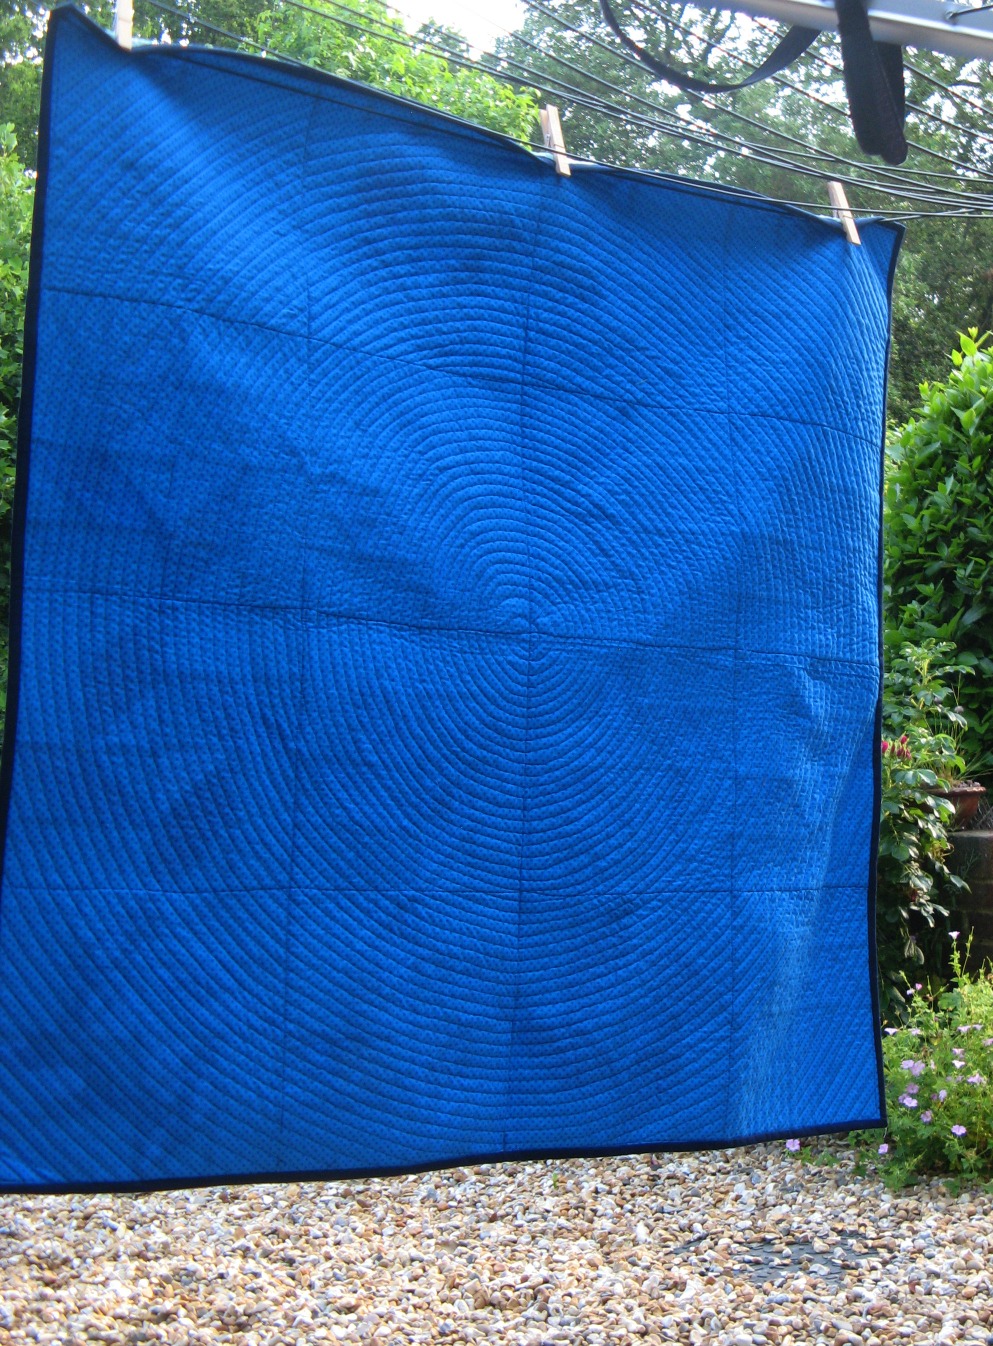
I quilted in the ditch along the seamlines between the blocks (see photo of back of quilt) to stabilise the layers. I find this helps to prevent the quilt sandwich from shifting or stretching when quilting on the bias as you do going round in circles.
Then I quilted in a continuous spiral from the centre using the width of my presser foot as a guide till I reached the outer edge.
The Flywheel block, the prints in different directions and the quilting all lend a great feeling of rotational movement to this quilt.
Step 10
Attach the binding in your preferred method.
I stitched the binding to the back of the quilt first.
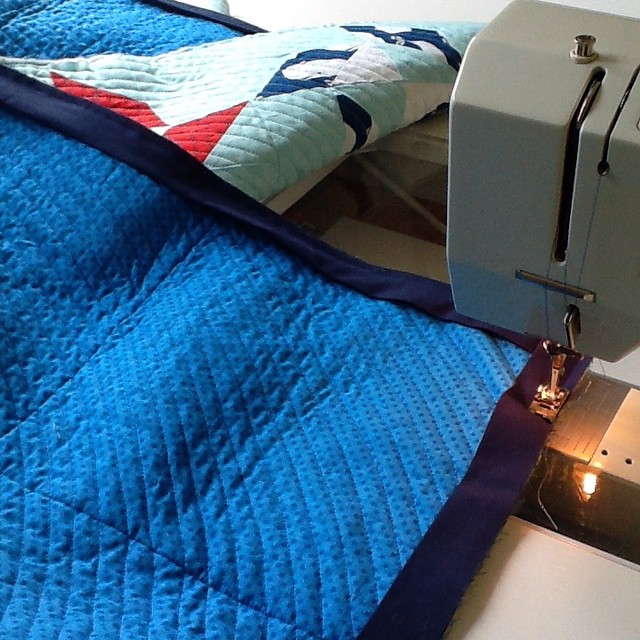
Then folded the binding toward the front of the quilt, and top stitched to the front. This makes a quick and secure binding which will hopefully be laundry and baby or toddler proof!
Hope you enjoy making this quilt and if you drop into Simply Solids feel free to take a photo of yourself in selfie mode with it and please let me know where to find it! Or let me know where to find your version - I’d be thrilled to see it!
Now check out below how to make those bonus HSTs and come back to join me for a tutorial on how to make that cushion.
Stitch on the marked line.